Hozelock Pot Watering Kit: The Ultimate Guide to Choosing & Installing Your System in 2026
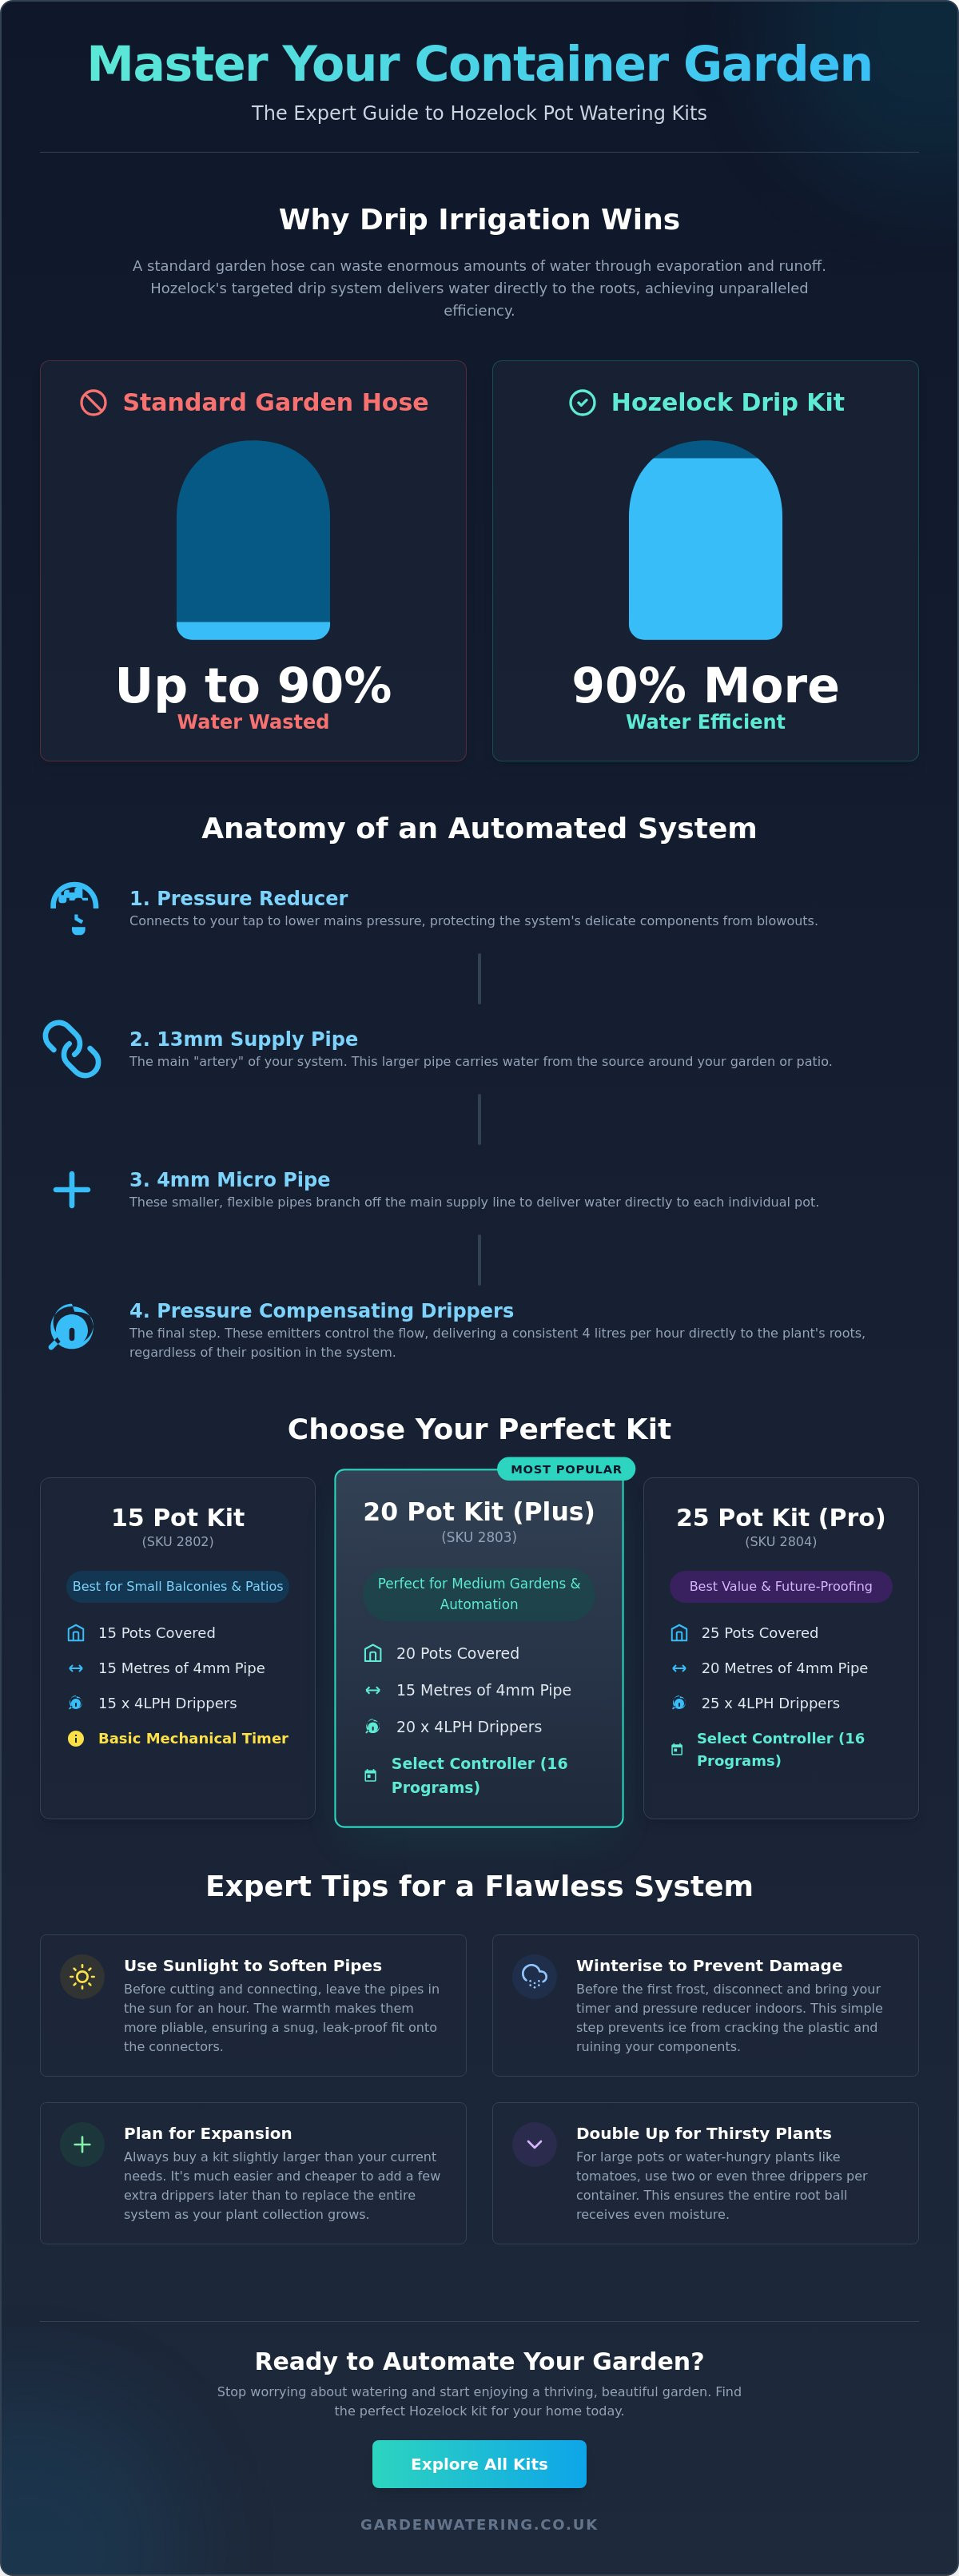
Did you know that a standard garden hose can be up to 90% less efficient than a targeted hozelock pot watering kit? With the Environment Agency classifying parts of the South East and East Anglia at a high risk for drought this summer, relying on manual watering isn't just time consuming; it's increasingly unsustainable. It's a common frustration to see your carefully nurtured containers wilt the moment you take a weekend break or struggle with confusing pipe connectors that never seem to fit. You deserve a garden that thrives on autopilot while your water bills stay manageable.
We understand that choosing the right setup can feel overwhelming when you're faced with different SKUs and technical specifications. That's why we've put together this expert guide to help you master your container gardening with confidence. You'll learn exactly how to select the perfect system for your specific number of pots and how to install it like a professional. We'll walk through the current 15, 20, and 25 pot kits to ensure you get a "set and forget" system that protects your plants for years to come.
Key Takeaways
- Understand why micro-irrigation is up to 90% more efficient than a standard hose by delivering water directly to the root zone.
- Identify whether the 15, 20, or 25 pot hozelock pot watering kit best fits your garden's layout and automation requirements.
- Master the installation process with practical techniques, such as using sunlight to soften pipes for a secure, leak-proof fit.
- Ensure your system lasts for years by following essential winterisation steps to prevent frost damage to timers and reducers.
- Learn how to scale and customise your setup as your plant collection grows, keeping your garden thriving with minimal effort.
What is a Hozelock Pot Watering Kit and Why Use One?
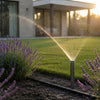
A hozelock pot watering kit is a sophisticated micro-irrigation system designed specifically for the unique needs of container gardens. Unlike a traditional hose, which often floods the soil surface and leads to significant runoff, this system delivers water slowly and directly to where it matters most: the roots. By utilizing a drip irrigation system, you can achieve up to 90% water efficiency. This high performance is possible because the water is emitted at a rate the soil can actually absorb, virtually eliminating surface evaporation and wasteful drainage that occurs with spray guns.
Hozelock has established itself as the premier choice for UK gardeners due to its modular design and the widespread availability of spare parts. When you invest in one of these garden watering kits, you're not just buying a temporary fix. You're choosing a durable ecosystem that can be maintained and expanded for years. The components are built to withstand the erratic UK weather, ensuring your investment stays protected through the seasons.
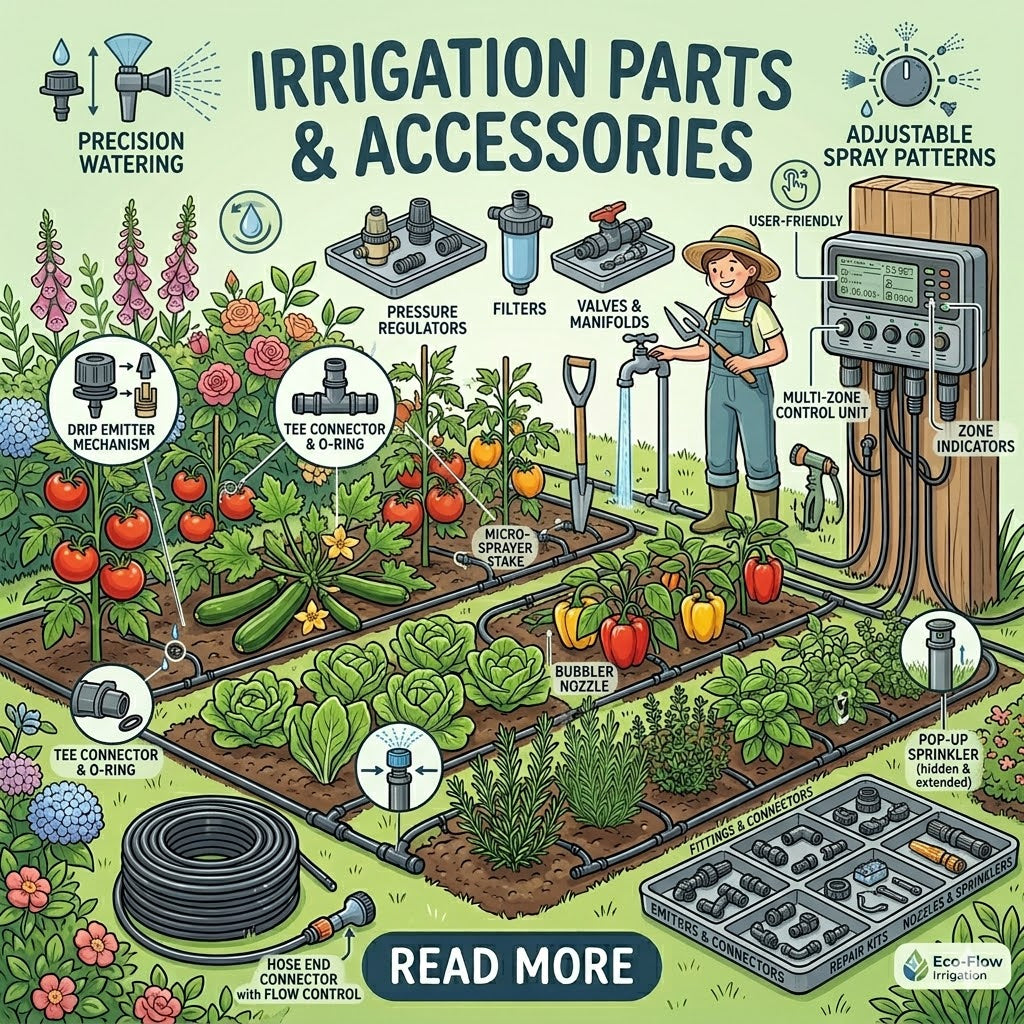
The Core Components of Every Kit
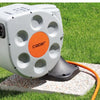
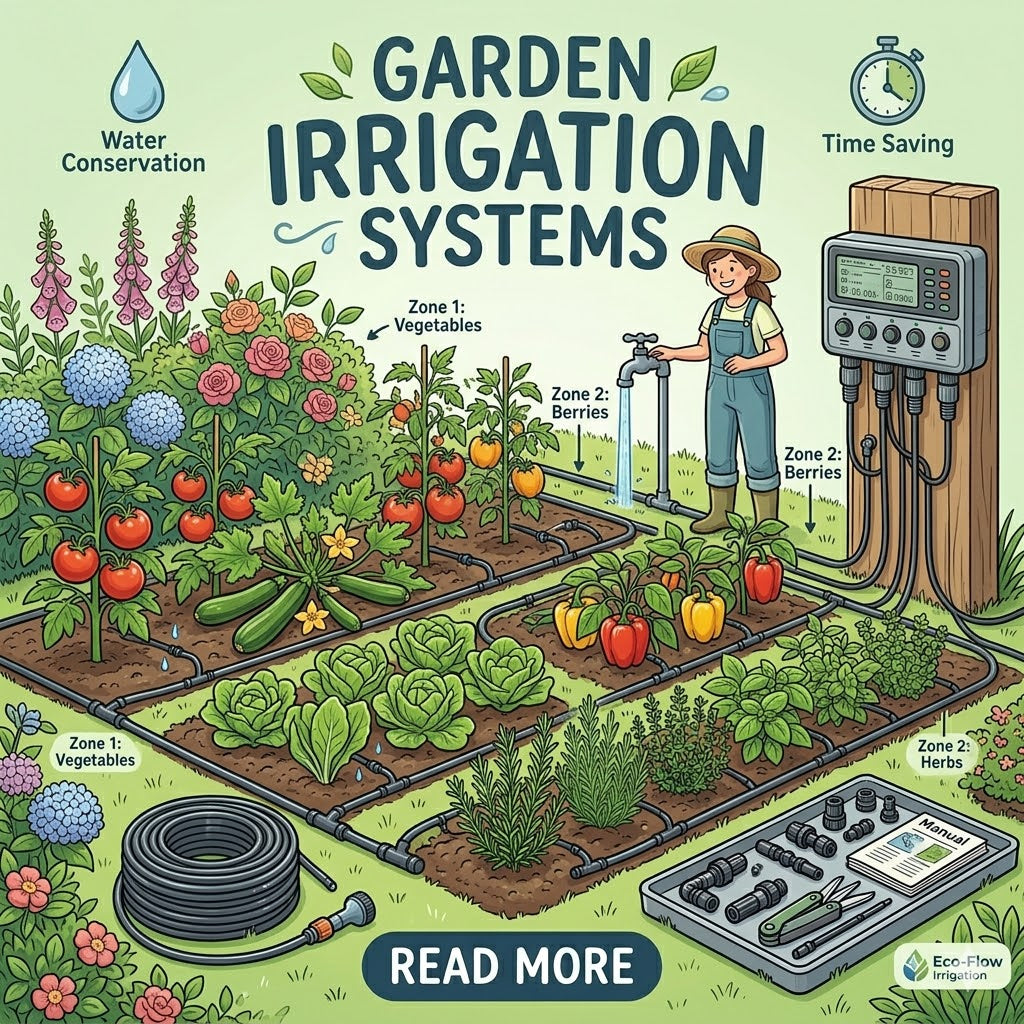
Every successful installation starts with a pressure reducer. You cannot connect your system directly to high-pressure mains because the force would simply blow the micro-fittings apart. The reducer brings the pressure down to a safe, manageable level for the delicate drippers. The "arteries" of your system consist of two pipe sizes. The 13mm supply pipe acts as the main trunk line, carrying a larger volume of water around your garden. From this trunk, 4mm micro pipes branch off to reach individual pots. Finally, the drip emitters control the flow. Most kits feature pressure-compensating drippers that deliver a steady 4 litres per hour, regardless of their distance from the tap.
Benefits Beyond Water Saving
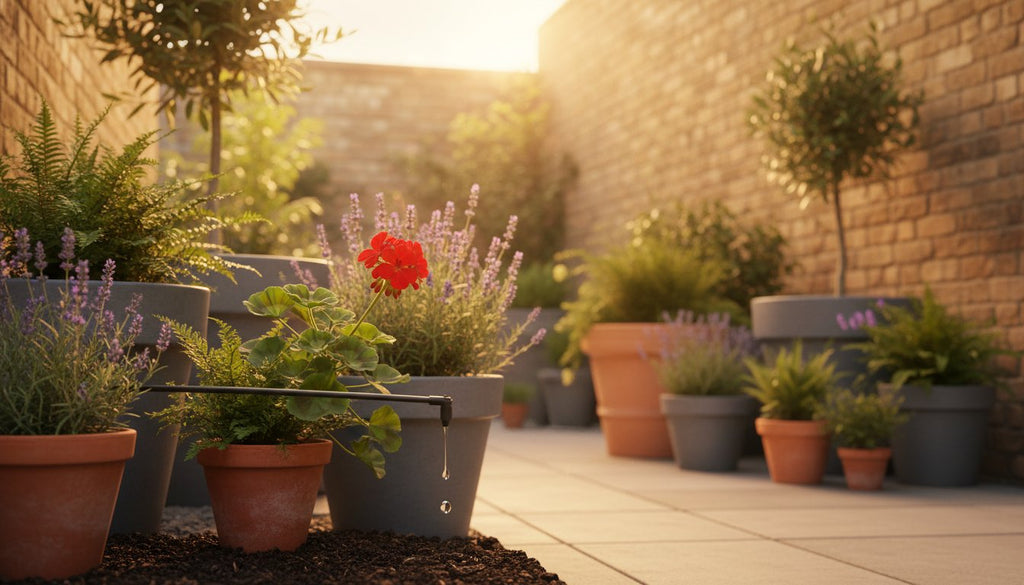
Beyond the obvious environmental impact, these systems provide consistent hydration that manual watering simply can't match. Plants in pots are prone to drought stress when the soil dries out completely between waterings. A steady drip keeps moisture levels stable, which often results in more vibrant blooms and healthier foliage. It reduces the physical strain of carrying heavy watering cans, too.
If you're planning a trip away, pairing your kit with one of the many garden irrigation water timers available ensures your plants remain healthy while you're gone. It's the ultimate holiday peace of mind. The installation is also remarkably discreet. Because the pipes are flexible and dark in colour, you can easily tuck them behind pots or along patio edges. This keeps your garden looking tidy while the system works silently behind the scenes.
Choosing Your Kit: Comparing the 15, 20, and 25 Pot Options
Selecting the right hozelock pot watering kit involves more than just counting your containers. It requires an understanding of your garden's layout and the specific hydration needs of your plants. While the kit names provide a helpful baseline, your "true" pot count might differ if you have particularly large containers or thirsty species like tomatoes and hydrangeas. A single large pot often requires two or even three drippers to ensure the entire root ball stays moist, so it's always wise to over-estimate your needs slightly.
The three primary kits offer different levels of automation and capacity. The 15 Pot Kit (SKU 2802) is a practical entry point for small balconies or herb gardens. It includes a basic mechanical timer that you set manually for up to 120 minutes. If you want a system that works while you're away, the 20 Pot Kit (SKU 2803) and 25 Pot Kit (SKU 2804) are superior choices. These "Plus" and "Pro" versions include the battery-powered Select Controller, which features 16 pre-set programs to handle daily watering automatically.
SKU Comparison: 2802 vs 2803 vs 2804
Understanding the hardware differences helps you determine the best long-term investment for your space. While the 25 Pot Kit has a higher initial cost, the extra pipe length and additional drippers offer much better value if you plan to expand your collection later. You can view the full range of hozelock watering kits to compare these options in detail.
| Feature | 15 Pot (2802) | 20 Pot (2803) | 25 Pot (2804) |
|---|---|---|---|
| 4mm Micro Pipe | 15 Metres | 15 Metres | 20 Metres |
| Drippers | 15 x 4LPH | 20 x 4LPH | 25 x 4LPH |
| Included Timer | Manual Mechanical | Digital Select | Digital Select |
| Best For | Small Balconies | Medium Patios | Large Patios & Borders |
The Hozelock water timer included with the 20 and 25 pot versions is the real game-changer. It allows for "set and forget" operation, which is essential for holiday plant care and consistent growth.
Matching Kits to Pot Materials
Your choice of container material significantly impacts how much water your plants need. Terracotta is highly porous; it breathes and allows moisture to evaporate through the sides of the pot. In a sunny spot, a plant in terracotta might require double the water of the same plant in a plastic pot. If your garden is full of traditional clay pots, you'll need to allocate more drippers per container or increase the frequency of your watering cycles.
Layout is another vital consideration. Round pots can be clustered together, allowing for short runs of micro pipe. Window boxes and linear troughs require a different approach. You'll need to run the pipe along the full length of the box, potentially using multiple drippers spaced evenly to avoid dry spots at the edges. Always ensure your furthest pot is getting a steady drip; if the flow seems weak, you may need to split your system into two zones using a simple T-piece connector.
Step-by-Step: Installing Your Hozelock Watering System
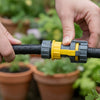
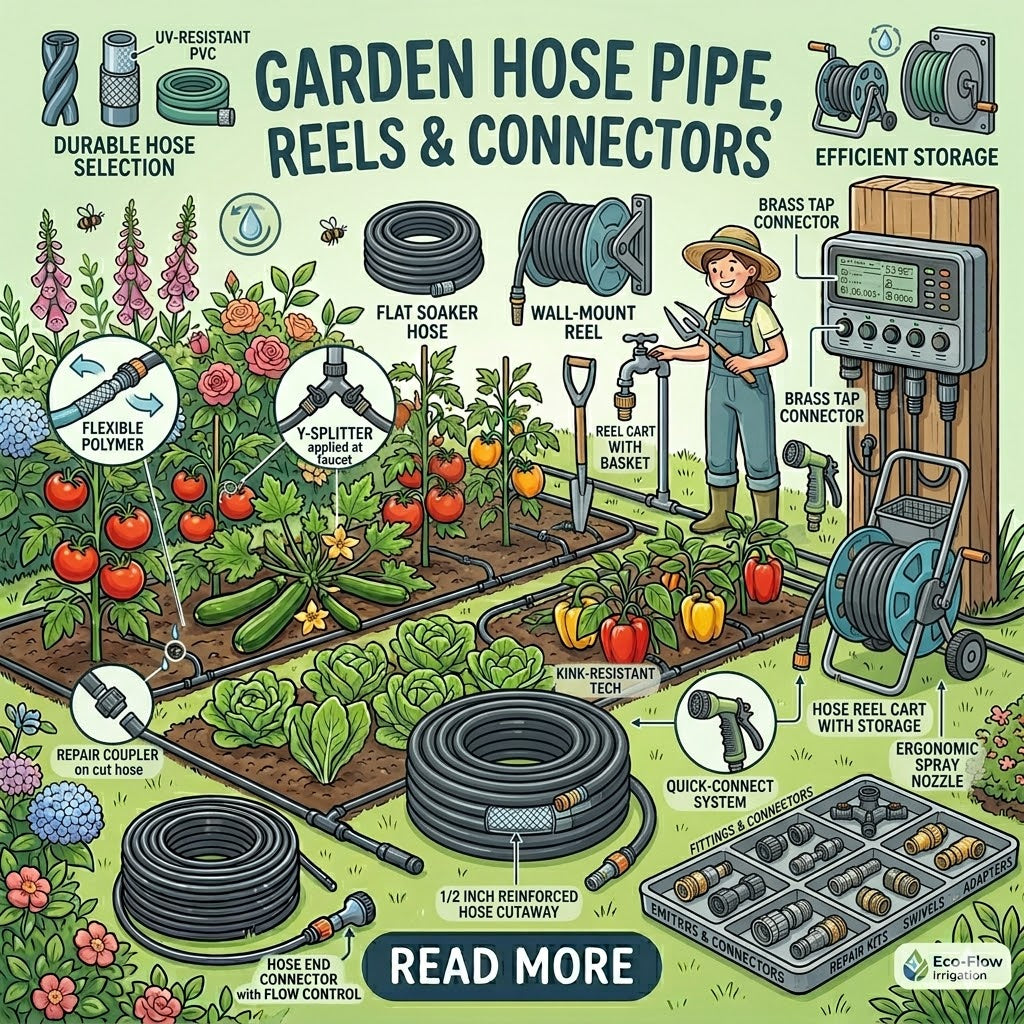
Unrolling your hozelock pot watering kit on a cold day can be a struggle. Before you begin, leave the LDPE supply pipes in a sunny spot or soak the ends in warm water for a few minutes. This simple trick softens the plastic, making it much easier to push connectors into place for a secure, leak-proof fit. Start your installation at the tap by attaching your water timer first, followed immediately by the pressure reducer. This sequence is vital; the reducer protects the entire downstream system from high-pressure surges that could otherwise blow the fittings apart.
Route your 13mm main line along the most discreet path possible. Use wall clips or ground stakes to keep the pipe tucked against the base of walls or hidden behind foliage. Once the main line is in position, use the included hole punch tool to create entry points for the 4mm micro pipes. Be precise with your pressure; you want a clean hole without piercing through the opposite side of the pipe. Push the joiner into the hole until you feel a firm click, then run the micro pipe directly to your individual pots.
Planning Your Layout
A little preparation prevents significant rework later. Sketch a simple map of your garden to visualize the shortest routes between pot clusters. This helps you calculate exactly how much pipe you'll need and identifies where you might need extra T-pieces. For larger setups, try to avoid "dead ends" where water pressure might drop at the final pot. Creating a closed loop where the pipe returns to the main line can help maintain consistent pressure across every dripper. You can find visual inspiration and layouts in our guide to design ideas and plans.
Common Installation Pitfalls
Many first-time installers make the mistake of over-tightening threaded connectors. Hand-tight is usually sufficient; using pliers can crack the plastic and cause permanent leaks. Another essential step is the use of end caps. Without a secure cap at the end of every pipe run, your system won't build the internal pressure required to activate the drippers. If your garden has a complex layout with multiple levels or sharp corners, consider using irrigation fitting adaptors to navigate these obstacles without kinking the pipe.
Once everything is connected, run the system for five minutes without the dripper heads attached. This flushes out any plastic shavings or grit that may have entered the pipes during installation. After flushing, click the drippers into place and perform a final "real" run. Check every connection point for dampness and adjust the flow on individual drippers to ensure the water reaches the root zone without splashing the foliage.
Customising and Expanding Your System
The beauty of a hozelock pot watering kit lies in its modular nature. You don't have to settle for the initial configuration. As your plant collection grows from a modest balcony display to a sprawling 50-pot patio garden, your system can grow with it. However, successful expansion requires an understanding of water pressure and pipe capacity. While it's tempting to simply keep adding micro pipes, you must respect the physical limits of the hardware to ensure every plant receives its fair share of hydration.
One of the most common mistakes is over-extending the 4mm micro pipe. This thin tubing is excellent for short runs to individual pots, but it cannot carry a high volume of water over long distances. If you plan to water more than 15 pots in a single run, you must use a 13mm main supply pipe as a "spine" for your garden. By tapping into this larger line at various points, you maintain the pressure needed to power your drippers effectively. For those who enjoy the ritual of gardening, you can still use Hozelock spray guns or lances for manual top-ups or feeding, creating a hybrid system that offers both automation and personal care.
Advanced Flow Control
As you add more variety to your garden, you'll notice that a "one size fits all" watering schedule doesn't work for everything. Using flow control valves allows you to create specific zones within your system. You can reduce the flow to drought-tolerant succulents while keeping the line fully open for thirsty tomatoes. Adjustable drippers offer even more precision; they allow you to twist the head to increase or decrease the water output for a single container. This level of control prevents waterlogged soil and ensures your high-standard plants thrive in their specific micro-climates. If you're ready to scale up your setup, explore our full range of Hozelock Automatic Watering Systems to find the right components for your expansion.
Upgrading Your Timer
Maintenance and Winterisation for Longevity
Limescale and debris are the most common enemies of consistent flow. If you live in a hard water area, mineral deposits can slowly narrow the aperture of your drippers. Periodically check that every emitter is producing a steady drip rather than a weak trickle. You can often clear blockages by soaking the heads in a mild descaling solution or simply agitating them to dislodge grit. Don't forget to inspect your Hozelock connectors for signs of wear. Replacing a worn O-ring or washer is a simple, low-cost way to maintain a watertight seal and prevent pressure loss throughout the system.
The Winter Checklist
Frost damage is the primary cause of system failure in the UK. When water freezes inside a plastic component, it expands with enough force to crack even the highest-quality casings. Follow these three steps every autumn to protect your equipment:
- Step 1: Remove your water timer from the tap and store it in a frost-free environment like a garage or shed. Remove the batteries to prevent corrosion over the winter months.
- Step 2: Open the end caps on your supply lines and run the system for a moment or use a foot pump to blow out any standing water. This prevents pipes from bursting during a hard freeze.
- Step 3: Unscrew the pressure reducer. Like the timer, this component contains delicate internal parts that are highly susceptible to ice damage.
Troubleshooting Common Issues
If you notice that pots at the end of your run aren't dripping, it's usually a sign of either a physical blockage or a significant pressure drop. Check for kinks in the 13mm supply pipe first. If the pipe is clear, you may have exceeded the maximum number of drippers for a single run, as discussed in our expansion guide. A whistling sound from your pressure reducer often indicates that the internal diaphragm is struggling with high mains pressure; usually, a slight adjustment to the tap flow will resolve this. While hozelock watering kits are designed as complete solutions, they are compatible with most standard irrigation fittings, allowing you to maintain a professional-grade system even as your garden evolves.
Ready to Automate Your Garden’s Success?
Achieving a lush, vibrant container garden doesn't have to be a daily chore. By selecting the appropriate hozelock pot watering kit, you ensure your plants receive precise hydration while reducing water waste significantly compared to a traditional hose. Whether you've opted for the 15, 20, or 25 pot system, your success now relies on a thoughtful installation and a commitment to seasonal maintenance. Remember to protect your investment by storing your timer and pressure reducer indoors before the first winter frost hits.
As exclusive Hozelock specialists with over 15 years of irrigation experience, we're dedicated to your success. We provide the expert-level advice you need to build a system that lasts, backed by a comprehensive range of spare parts and expansion fittings. Shop our complete range of Hozelock Watering Kits with expert UK support and take the first step toward a thriving, automated landscape. With the right tools in place, you can finally enjoy your garden with complete peace of mind.
Frequently Asked Questions
Can I use a Hozelock pot watering kit with a water butt?
Yes, you can use a hozelock pot watering kit with a water butt if you include a dedicated water butt pump. Standard gravity feed doesn't provide the pressure required to push water through the pressure reducer and out of the micro-drippers. A pump ensures the system operates at the correct performance level, allowing you to use harvested rainwater efficiently while keeping your plants hydrated during drier months.
How many pots can I realistically water with one Hozelock kit?
While the kits are marketed for 15, 20, or 25 pots, the actual number depends on the size of your containers. As mentioned earlier, large terracotta pots or thirsty vegetables may require two drippers to ensure the entire root ball stays moist. If you use multiple drippers per container, a 25-pot kit might realistically cover 12 to 15 larger plants. Always calculate your specific needs before starting your installation.
Do I need a plumber to install a Hozelock irrigation system?
You don't need a plumber or any specialist tools to install these systems. Every component in a hozelock pot watering kit is designed for straightforward DIY assembly using a simple push-fit mechanism. The only tools you'll typically need are a pair of sturdy kitchen scissors to cut the pipe and the hole punch provided in the kit. This makes it an accessible project for any gardener.
What is the difference between the 2802, 2803, and 2804 kits?
The primary differences lie in the number of drippers, the length of the supply pipe, and the type of timer included. The 2802 kit is a basic 15-pot setup with a manual mechanical timer. In contrast, the 2803 (20 pots) and 2804 (25 pots) kits include the more advanced Select Controller. This digital unit offers automated watering programs that provide much better flexibility for holiday plant care.
Will my water pressure be high enough for a 25-pot system?
Standard UK mains water pressure is usually more than enough to power a 25-pot system effectively. The pressure reducer included in the kit actually brings the pressure down to a safe level to protect the fittings. If you're concerned about a drop in flow at the end of a long run, layout your pipes in a loop to ensure consistent delivery to every container in your garden.
How do I stop my Hozelock connectors from leaking?
Leaks are usually caused by pipes not being pushed far enough into the fittings or uneven cuts. Ensure you cut the LDPE pipe squarely with sharp scissors rather than crushing it. If you're struggling with a tight fit, use the warm water technique to soften the plastic before assembly. Hand-tightening the threaded connectors is sufficient; using tools can often crack the plastic and cause permanent drips.
Can I add a liquid fertiliser dispenser to my pot watering kit?
You can easily integrate a Hozelock liquid feeder into your system to automate plant nutrition. This device sits in-line between the pressure reducer and the supply pipe, mixing concentrated fertiliser with the water as it flows through. It's a highly efficient way to feed your plants directly at the roots, ensuring they receive consistent nutrients throughout the growing season without the need for manual cans.
How long should I set my timer to water my pots each day?
Most container gardens thrive with 5 to 10 minutes of watering twice a day, ideally at sunrise and sunset. This schedule allows the soil to absorb moisture before the heat of the day increases evaporation. You should monitor your plants' soil moisture for the first week and adjust the duration based on the specific needs of your species and the current UK weather conditions.
`-
Posted in
Automatic Watering, Container Gardening, DIY Gardening, Garden Tech, Hozelock, hozelock pot watering kit, Micro Irrigation, Pot Watering, Water Conservation