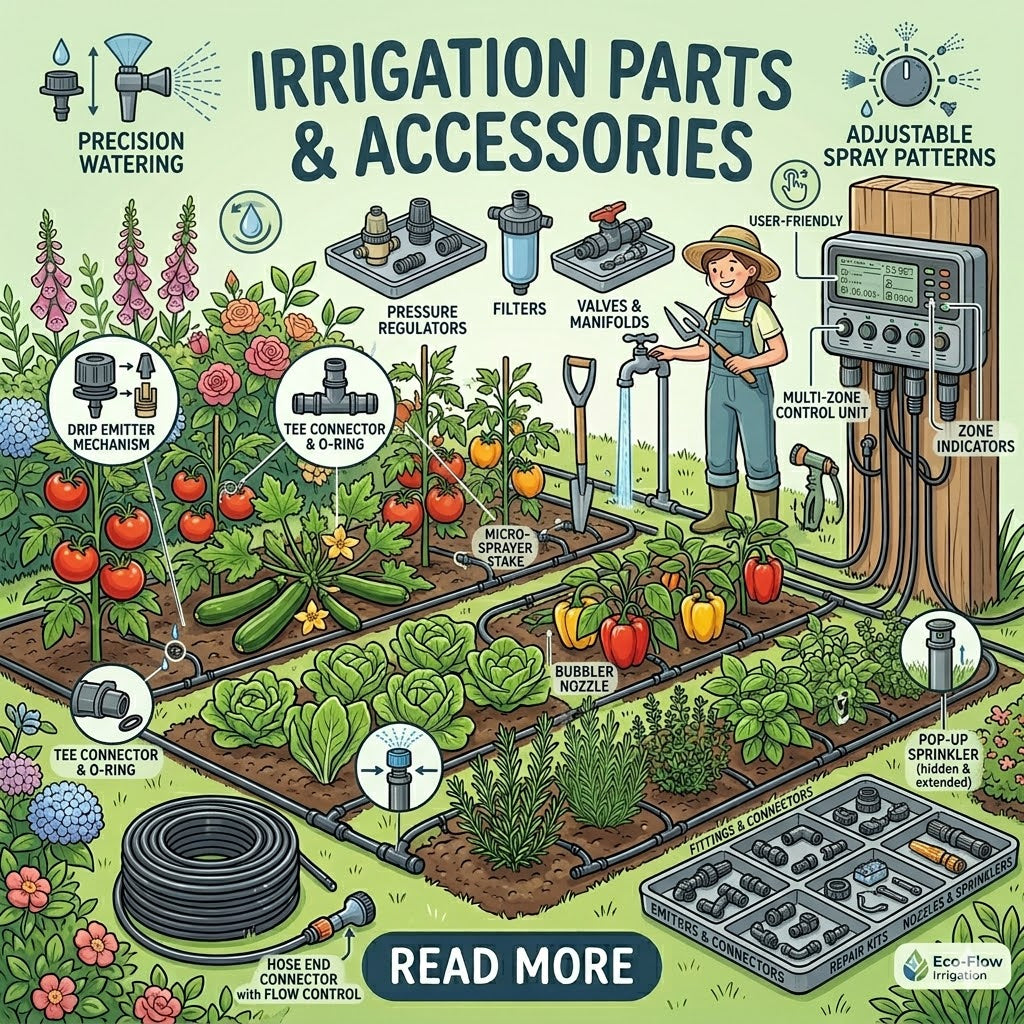
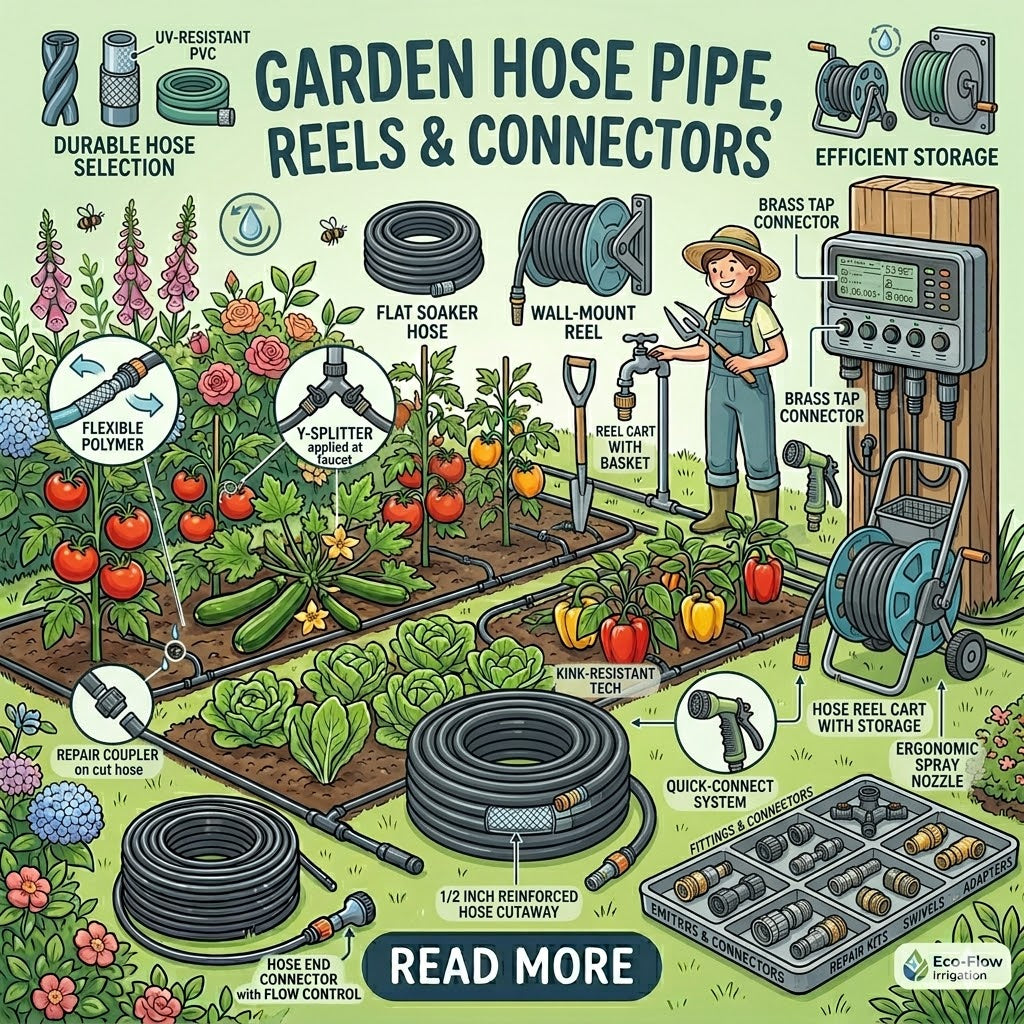
Irrigation Timers and Controllers
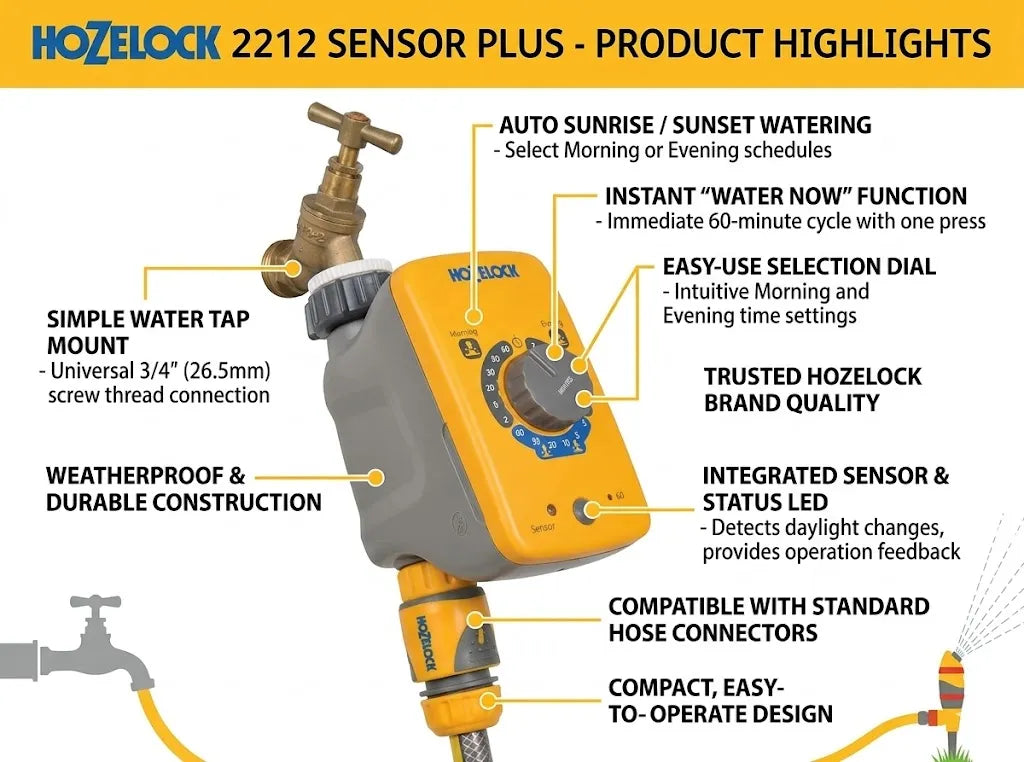
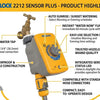
Hozelock 2212 Watering Sensor Controller: The Ultimate 2026 UK Guide
What if the secret to a thriving garden isn't a complex digital schedule, but simply listening to the sun? Many UK gardeners spend their evenings wrestling with complicated timers, only to find their plants still sufferi…
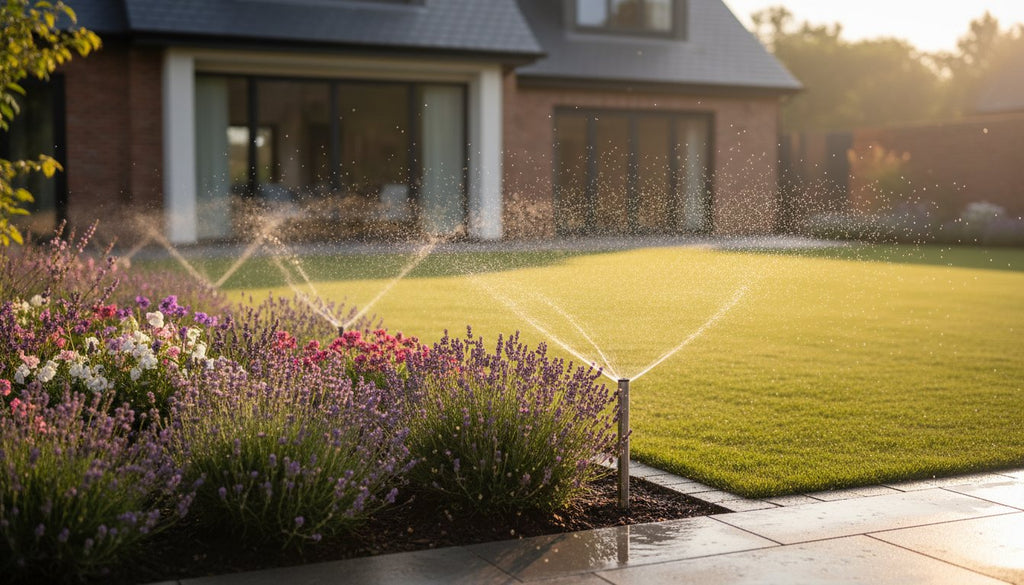
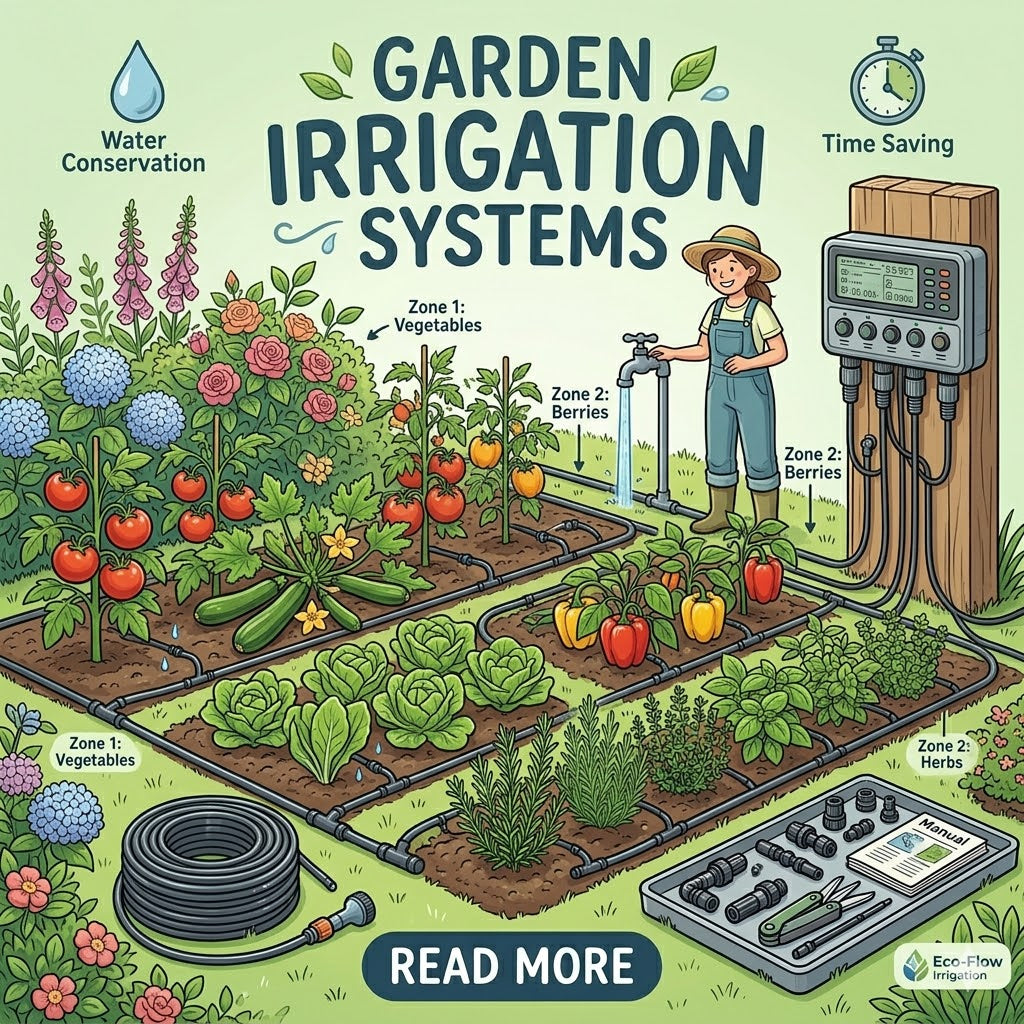
Multi Zone Irrigation Systems: The Expert Guide to Efficient Garden Watering
The EPA estimates that the average home with a standard sprinkler setup overwaters by 50%. It's a frustrating reality for many gardeners who find their pots drowning while the lawn stays dry, often because low water pres…
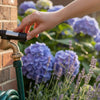
Garden Watering Timer Instructions: The Expert Guide to Setup and Troubleshooting
Imagine waking up on a warm Tuesday morning in July only to find your prize-winning hydrangeas wilting because your timer didn't click on as scheduled. It is a common frustration that turns a tool meant for relaxation in…

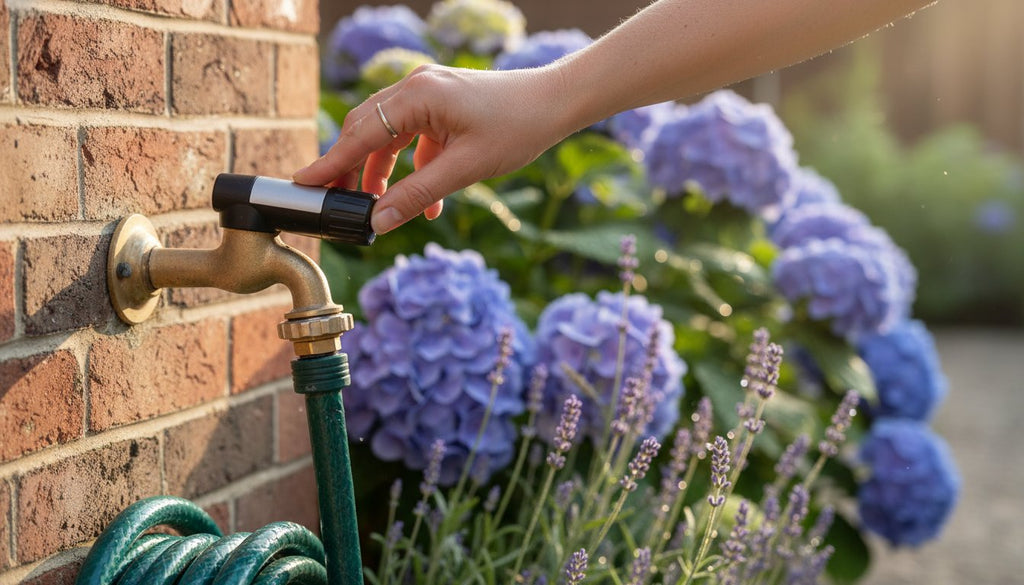
Claber Aquadue Duplo Water Timer - 8410: The Ultimate Review & Setup Guide (2026)
Imagine returning from a 14-day summer holiday to find your delicate hanging baskets have parched while your lawn sits in a muddy puddle. It's a common heartbreak for UK gardeners who rely on basic timers that can't dist…
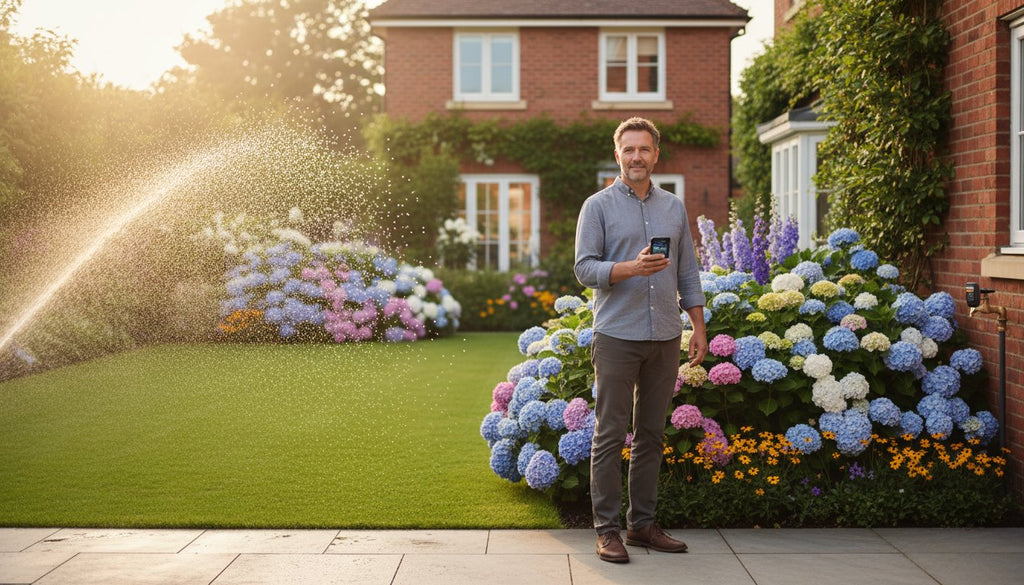
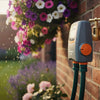
Battery Irrigation Timers: The Ultimate Guide to Automatic Garden Watering in 2026
Imagine returning from a 14-day holiday in July only to find your prize-winning hydrangeas have turned to dust and your lawn resembles a parched hayfield. It's a common anxiety for UK gardeners, yet many still hesitate t…