Hozelock ABC Automatic Watering Guide
How to Plan a Hozelock Automatic Watering System
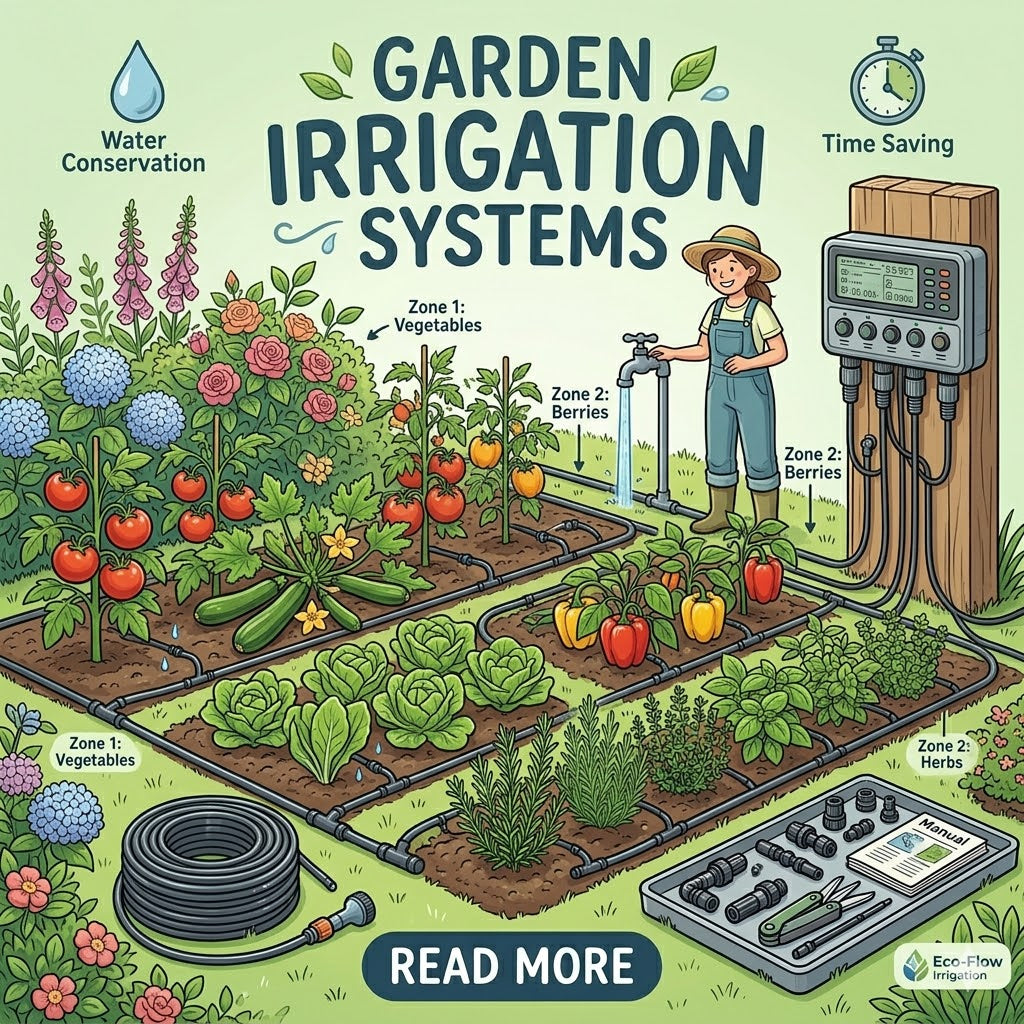
A little planning goes a long way. This guide walks you through everything you need to know — from sketching your garden layout to programming your timer for the first time.
Before buying a single fitting, spend ten minutes planning. A good plan means the right amount of pipe and no wasted trips back to the shop. You don't need anything fancy — a rough sketch on paper is all it takes.
Hozelock offers three main irrigation approaches. The right one depends on what you're watering. You can also mix types — for example, drip for pots and micro-jets for borders.
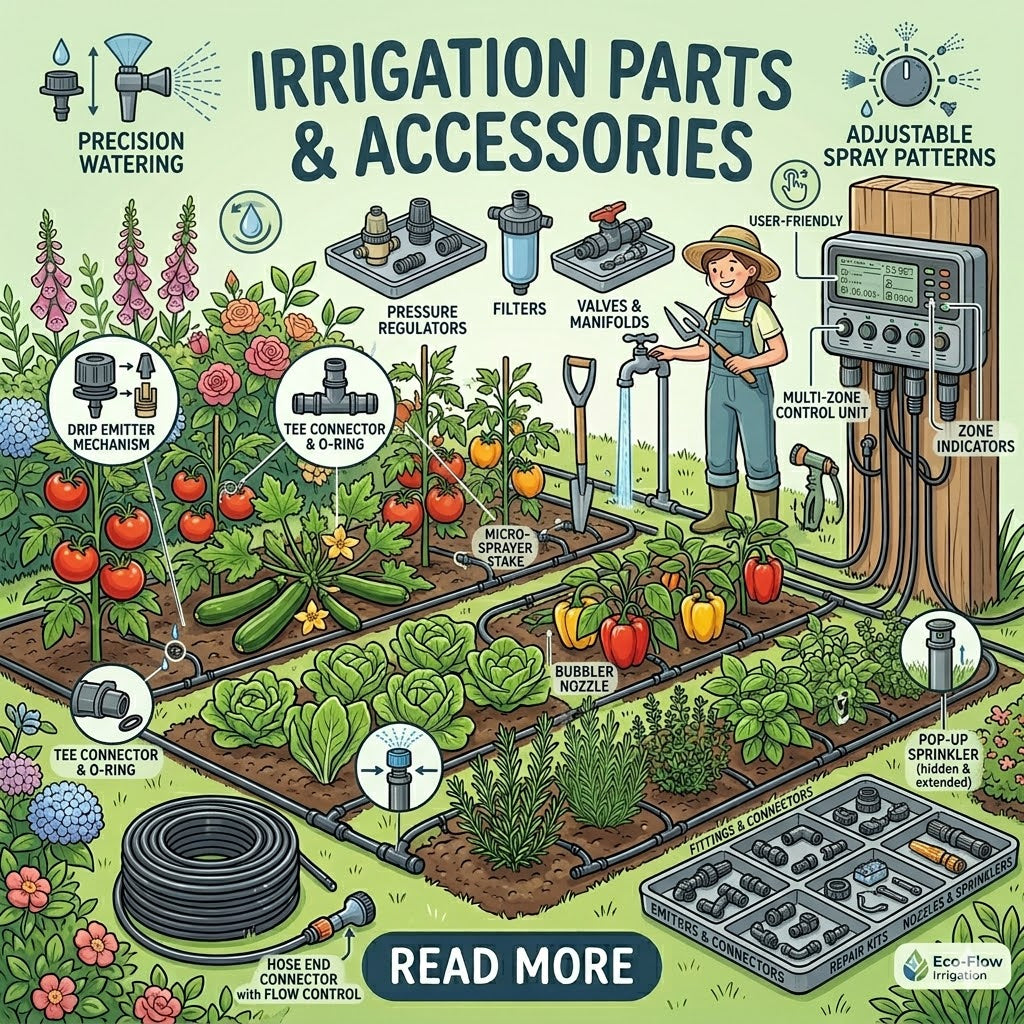
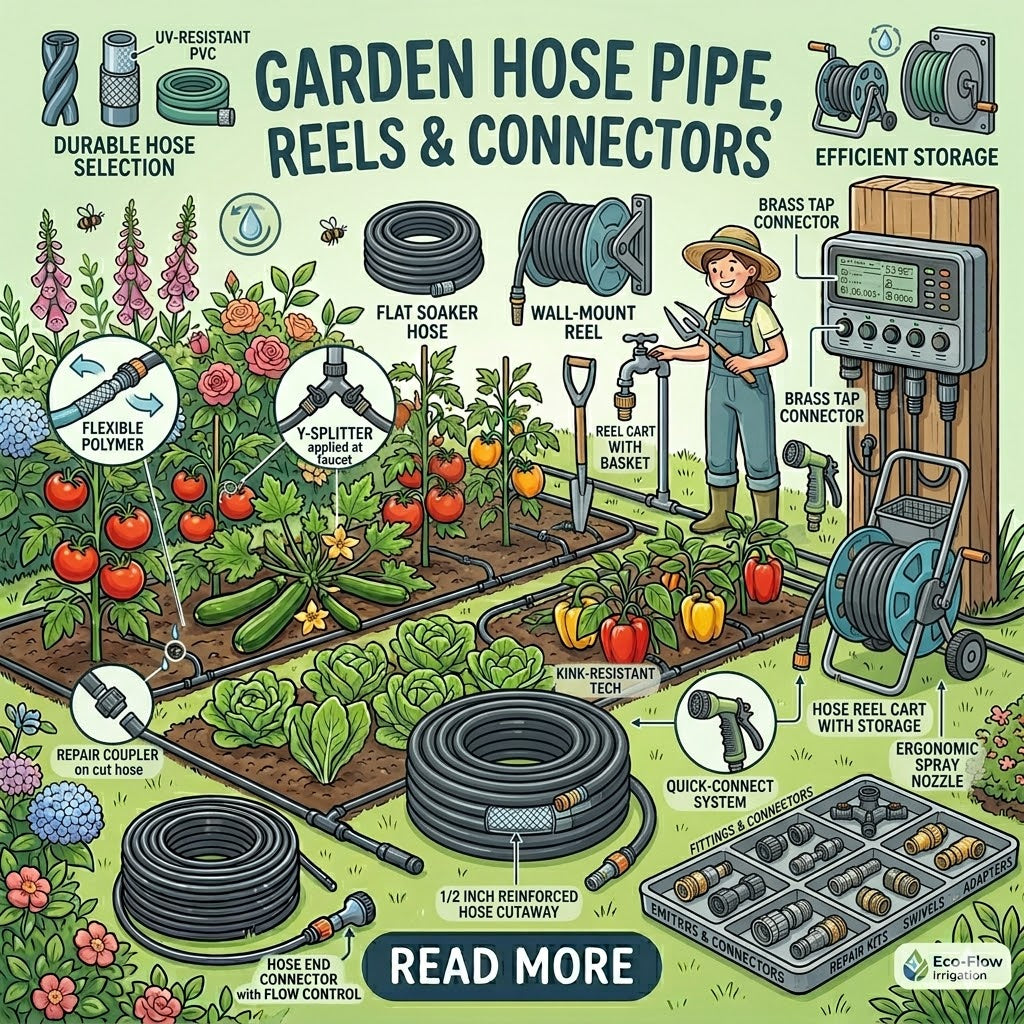
A typical Hozelock automatic watering system uses a standard set of components. The Hozelock click-connect system means everything fits together with no tools required — just push and click.
Installation is straightforward — no digging, no plumbing, no specialist skills. The Hozelock click-connect system means most connections are simply push-fit. Work from the tap outward, section by section.
The timer is the brain of your system. Hozelock timers are designed to be set up in minutes, even without reading the full manual. Here's what to configure:
Once programmed, turn on the tap manually and walk the system to check for leaks. Pay particular attention to dripper connections into the supply pipe — press any loose ones firmly home or use a barbed connector with a small piece of micro-tubing for a more secure fit.
No system is perfect straight out of the box. The first two weeks are the time to watch your plants and adjust accordingly. Here's what to look out for:
- Plants look dry or wilting — increase the watering duration by 5–10 minutes, or check that drippers haven't become blocked.
- Plants look waterlogged or yellowing — reduce the watering duration, or switch from daily to every other day.
- Uneven watering — check that adjustable drippers are all set to the same flow rate, and that no connections have pulled loose from the supply pipe.
- Low flow from some drippers — flush the system by removing end caps and running for 30 seconds to clear any debris from the pipe before re-capping.
- End of season — remove the timer, drain and store it indoors over winter. Flush and coil the supply pipe. Drippers can usually be left in situ.
Need help with your specific garden?
Our irrigation experts offer free advice on planning and choosing the right products. Get in touch or call us on 0333 335 6295 — free from most mobiles.