Garden Watering Timer Instructions: The Expert Guide to Setup and Troubleshooting
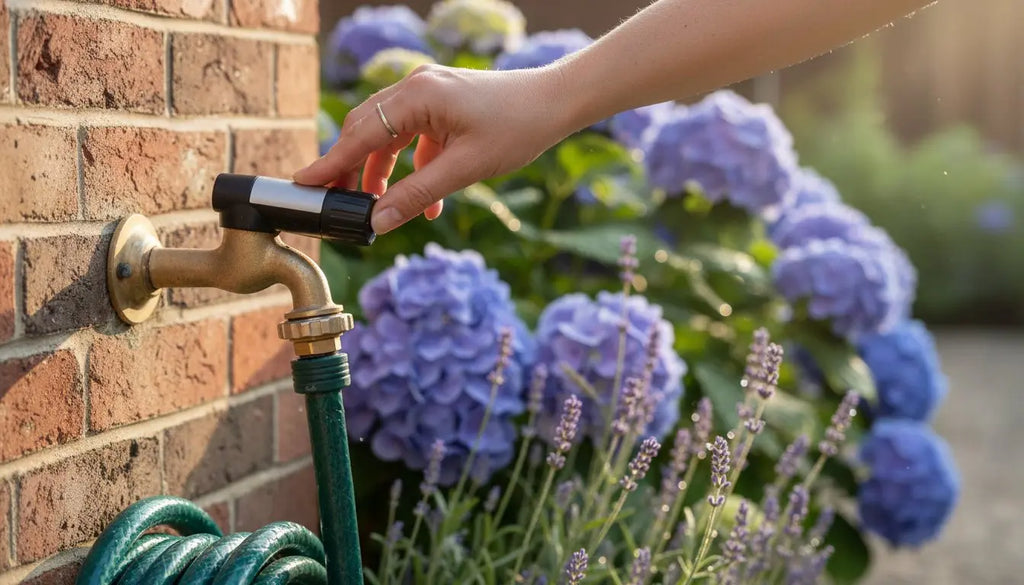
Imagine waking up on a warm Tuesday morning in July only to find your prize-winning hydrangeas wilting because your timer didn't click on as scheduled. It is a common frustration that turns a tool meant for relaxation into a source of stress. We agree that an automated system should be reliable, not a puzzle of confusing frequency vs duration settings and leaking tap connections. That is why we have put together these comprehensive garden watering timer instructions to help you regain control of your outdoor space. As specialists with over 15 years of experience in irrigation, we understand exactly what your plants need to thrive. We are more than just a retailer; we are your trusted partner in ensuring every drop of water counts.
You can master your garden watering timer with our expert instructions, from initial setup to troubleshooting common Hozelock and universal timer issues. This guide provides the quiet confidence you need to build a dependable, automated schedule that works every time. We will explain the specific logic behind Hozelock units, how to ensure a watertight seal at the tap, and the best way to winterise your equipment so it survives the British frost. By the end of this article, you will have the specialist knowledge required to keep your garden lush and healthy with minimal effort.
Key Takeaways
- Learn how to correctly prepare your unit and hand-tighten Hozelock connectors to ensure a leak-free setup that protects your tap's threads.
- Discover how to perform the 'Click' Test to quickly diagnose solenoid issues and identify why your water flow might have stopped.
- Master your setup with our expert garden watering timer instructions, designed to help you achieve superior precision and efficiency in your UK garden.
- Protect your equipment from a 'death sentence' by learning the essential winterising steps to keep your valves safe from freezing January temperatures.
- Gain the confidence to maintain your system year-round with specialist advice on battery care and preventing terminal corrosion.
Understanding Your Garden Watering Timer: Types and Functions
A garden watering timer is the central brain of any efficient irrigation setup. It regulates the flow of water from your external tap to your plants by opening and closing an internal valve based on a schedule you define. Whether you are managing a small balcony collection or a sprawling lawn, following the correct garden watering timer instructions ensures your plants receive consistent hydration. An Irrigation controller can range from basic manual dials to advanced digital units that react to environmental changes.
To help you visualise how these devices integrate into your garden setup, watch this helpful video:
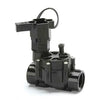
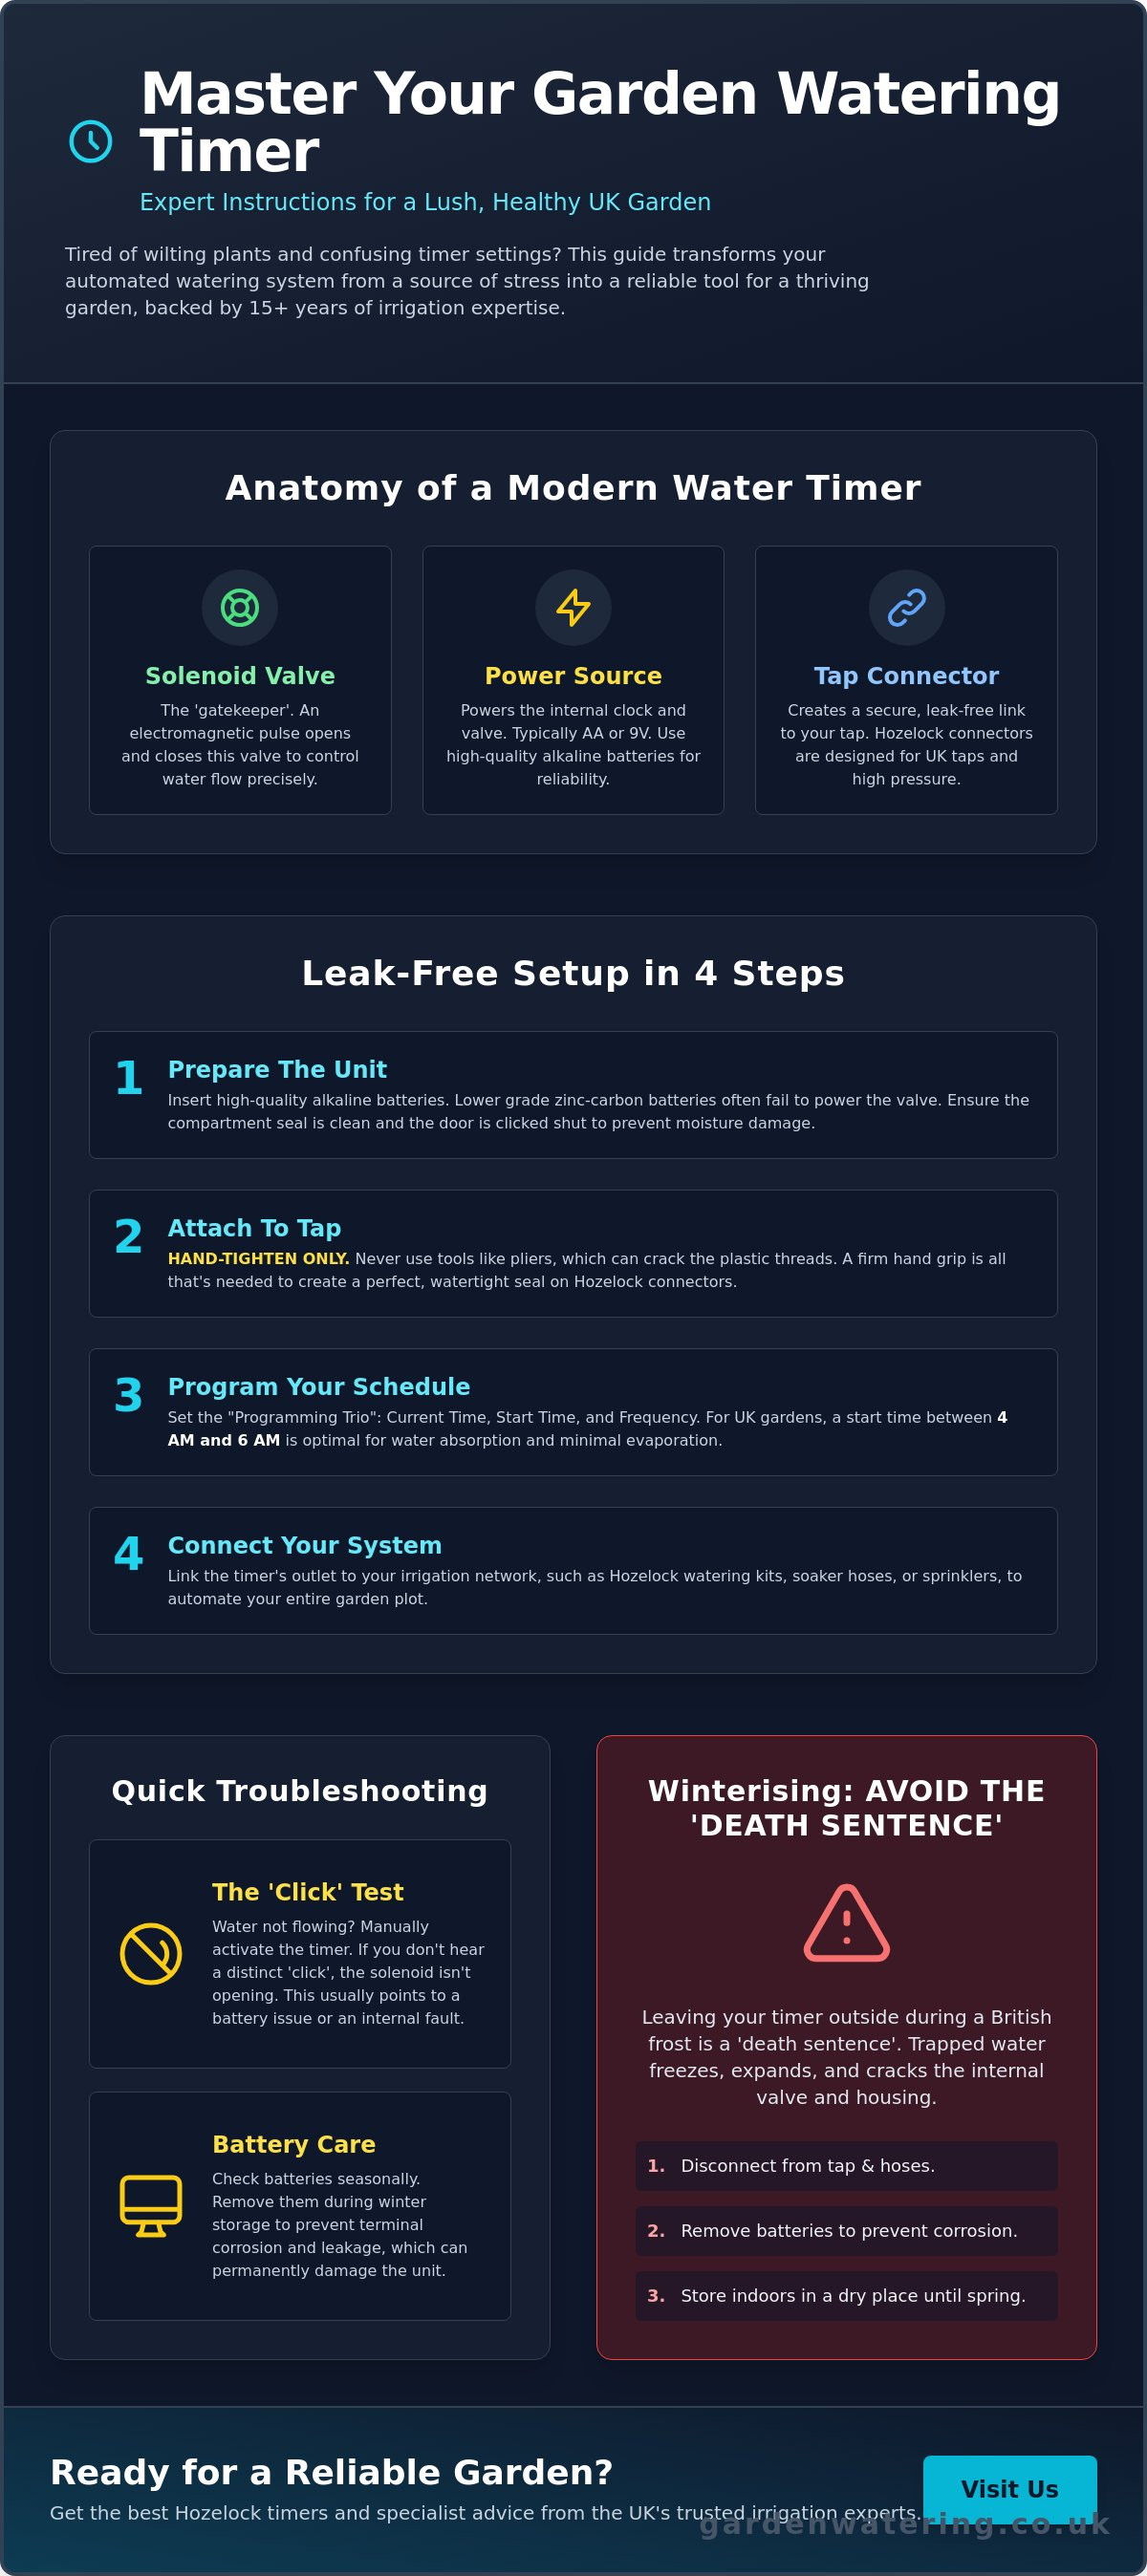
Most modern timers rely on three core components to function effectively. The solenoid valve acts as the gatekeeper, using an electromagnetic pulse to start or stop water flow. The battery compartment, which usually houses AA or 9V batteries, powers the internal clock and display. Finally, the tap connector provides a secure, leak-free link to your standard UK outdoor tap. We specialise exclusively in Hozelock because their components are built to handle high water pressure and the unpredictable British climate with ease.
Mechanical Dial Timers
These units operate much like a traditional kitchen egg-timer. You manually twist the dial to a specific duration, usually between 5 and 120 minutes, and the valve slowly closes as the mechanism ticks down. They don't require batteries, which makes them a dependable, low-maintenance choice for simple tasks. They are best used for short duration watering, such as filling a pond or running a sprinkler while you work nearby. However, they lack the ability to schedule future events, meaning they aren't suitable for "set and forget" weekly routines.
Electronic and Digital Controllers
Electronic controllers provide the superior precision required for healthy gardens. While some models use dials to set frequency, many feature LCD screens that offer clear visual confirmation of your schedule. This clarity is essential when you are following garden watering timer instructions for complex systems. Digital models often include "Day Selection" features, which allow you to skip specific days to comply with local water restrictions or specific plant needs. Many Hozelock models are also sensor-compatible, allowing you to integrate rain or sunlight sensors that prevent overwatering during wet weather.
Step-by-Step Instructions for Setting Up Your Water Timer
Setting up your device correctly ensures your garden stays hydrated without wasting a drop. These garden watering timer instructions focus on precision and longevity. First, prepare the unit by checking the battery compartment. Always use high-quality alkaline batteries. Lower grade zinc-carbon alternatives often lack the power to consistently operate the internal motorised valve, which can lead to system failure mid-season. Ensure the seal is clean and the door is clicked shut to prevent moisture ingress.
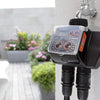
When you attach the unit to your outdoor tap, avoid using tools. Hand-tightening your Hozelock connectors is the safest method. Plastic threads are easily damaged by metal pliers; a firm grip by hand is enough to create a leak-free seal. Once the timer is secure, you can link it to your wider network, such as Hozelock watering kits or porous soakaway hoses, to automate your entire plot.
The Programming Logic Explained
Most timers rely on a "Programming Trio" of settings: current time, start time, and frequency. A common mistake is confusing frequency with duration. Frequency is how often the water turns on, while duration is how long it stays on. For UK gardens, setting a start time between 4 AM and 6 AM is the gold standard. Watering during these early hours ensures moisture reaches the roots before the sun causes evaporation, yet allows foliage to dry quickly enough to prevent fungal diseases like powdery mildew.
If your plants look thirsty during a heatwave, use the 'Water Now' or 'Manual' function. This feature opens the valve for a set period without wiping your saved schedule. It's a perfect solution for a quick boost during exceptionally dry spells without needing to reprogram the entire unit.
Connecting to the Water Source
Achieving a professional finish requires the right components. Use irrigation fitting adaptors to bridge the gap between your tap and the timer. Before you screw anything on, inspect the internal mesh filter. This small screen catches sediment and grit that could clog your drippers. We recommend cleaning this filter at the start of every spring to maintain optimal flow rates. If you're looking to expand your setup, you can browse our range of water timers to find the perfect match for your garden's layout.
Finally, always test the cycle. Run a manual test once everything is connected to check for weeping joints or loose fittings. If you spot a leak, check the rubber washers inside the connectors before tightening further. A well-installed system should be silent and bone-dry at every connection point.
Troubleshooting Common Watering Timer Issues
Even when you follow your garden watering timer instructions perfectly, technical hitches can happen. The most effective diagnostic tool is the "click test." When you manually trigger a watering cycle, you should hear a distinct mechanical click. This sound confirms the internal solenoid is receiving power and trying to move. If you hear the click but no water emerges, the issue is likely a physical blockage in the filter or a closed tap rather than a programming error.
Battery maintenance is another common hurdle. We've found that 85% of "faulty" returns are actually caused by using low-quality zinc-carbon batteries. These cells lack the peak current needed to shift a motorised valve. Always use high-quality alkaline batteries and check the terminals for blue or white crusty deposits. If you find corrosion, clean the contacts with a dry cloth to ensure a steady power flow. If the screen remains garbled or frozen, perform a factory reset by removing the batteries for a full 5 minutes before restarting the setup process.
Leaking from the tap connection is usually a simple fix. Most UK taps use a standard 3/4 inch thread, but a leak here usually points to a perished O-ring or a loose Hozelock connector. If water is spraying from the timer's casing, inspect the plastic for hairline cracks. These often develop if the unit was left outside during a winter freeze where temperatures dropped below 0°C, causing trapped water to expand and split the housing.
Low Water Pressure Issues
Many gardeners don't realise that standard solenoid valves actually use water pressure to help them stay closed. If your pressure is too low, the valve might weep or fail to open. You can test your mains pressure by seeing how long it takes to fill a 10-litre bucket; if it takes more than 60 seconds, your pressure is likely below 1 bar. While mains systems usually provide enough force, gravity-fed setups like water butts often require specialized zero-pressure timers to function reliably.
The Timer Won't Stop Watering
If your garden keeps soaking after the schedule ends, a tiny piece of grit or lime scale is likely trapped in the valve's diaphragm. This prevents the rubber seal from seating correctly. You can often flush this out by running the timer on a manual cycle several times in quick succession. Modern units are designed to prevent "runaway" watering caused by power loss. A Fail-Safe is a critical safety feature in modern irrigation that ensures the valve shuts down automatically or refuses to open if battery levels drop below the threshold required to close the circuit.
Seasonal Care and Maintenance for Longevity
Following the correct garden watering timer instructions isn't just about the initial setup; it's about protecting your investment through the changing British seasons. A timer left on an outdoor tap during a UK January is facing a literal death sentence. Precision internal components are delicate, and neglecting simple maintenance can reduce a high-quality unit's lifespan from ten years to just one. We want your garden to thrive, which means ensuring your kit is ready to perform when the spring growing season arrives.
Winterisation Protocol
The physics of frost damage is unforgiving. When water freezes, it expands by approximately 9% in volume. Inside a sealed solenoid valve, there is no room for this expansion. The resulting pressure causes the plastic housing or internal seals to crack, leading to permanent leaks. To avoid this, follow our expert winterisation steps before the first frost hits in late October or November.
- Disconnect: Unscrew the timer from the tap and remove all hose attachments.
- Drain: Open the valve manually to let any trapped water escape. Give it a gentle shake to ensure the internal chambers are empty.
- Dry: Wipe the unit down and let it air dry completely.
- Store: Place the timer in a frost-free environment, such as a shelf in a dry garage or a kitchen cupboard.
For a complete overview of protecting your entire setup, read our Hozelock automatic watering guide for full system protection. Taking ten minutes to bring your equipment indoors will save you the cost of a replacement next spring.
Optimising for Water Efficiency
UK weather is famously unpredictable. Your garden watering timer instructions should be updated as you move from the damp days of April to the heat of July. In early spring, plants often only require five minutes of hydration every other day. By mid-summer, you might need to increase this to 15 minutes daily to combat evaporation. Using rain sensors is an excellent way to automate this, as they bypass your schedule during wet weeks to prevent waterlogged soil.
Don't forget the internal filter located at the tap connector. Hard water areas in the South East of England can cause calcium buildup that restricts flow. Every spring, remove the filter and soak it in a mild descaling solution or white vinegar for 30 minutes to keep your system running at peak performance.
Why Choose Hozelock Timers from Garden Watering?
Selecting the right equipment is just as vital as following the correct garden watering timer instructions. At Garden Watering, we've spent over 15 years specialising exclusively in Hozelock irrigation systems. This isn't just a side project for us; it's our entire focus. We understand that the UK climate presents unique challenges, from sudden heatwaves to frosty winters, and we only stock timers that we know can withstand these local conditions.
We're more than just an online shop. We act as your dedicated irrigation partner. When you buy from us, you gain access to a curated selection of garden irrigation water timers and genuine parts that fit perfectly every time. You also get the peace of mind that comes with expert support. If you're looking to optimise your setup, you can explore our design ideas and plans to create a layout that saves water and keeps your plants healthy.
The Specialist Advantage
Buying from a specialist beats a general DIY "big box" store because we offer depth of knowledge they can't match. Most large retailers sell thousands of unrelated products, but we focus solely on irrigation. This means we can provide specific after-sales care and troubleshooting advice tailored to your exact model. We're committed to helping you grow. Whether you're starting with a single tap timer or scaling up to a complex garden watering system, we have the technical expertise to guide you through the expansion process.
Finding the Right Model
Choosing the right Hozelock model depends on your garden's specific needs. The Hozelock Select is perfect for straightforward tasks, offering 16 pre-set programmes that cover most basic requirements. If you need more flexibility, the Hozelock Plus allows you to set your own start times and durations. For those managing large lawns or complex vegetable patches, the Hozelock Pro provides the ultimate control with multiple start times per day.
- Hanging Baskets: The Sensor Plus is ideal here, as it automatically waters at sunrise or sunset when evaporation is lowest.
- Large Lawns: Use the Pro model to ensure deep, consistent soaking during the early morning hours.
- Holiday Watering: Any of our programmable timers will keep your garden lush while you're away.
Before you make your final choice, check your water pressure and the number of outlets you need to control. Our team is always ready to help you match a timer to your specific garden dimensions. With the right hardware and clear garden watering timer instructions, you'll enjoy a thriving garden with minimal manual effort.
Enjoy a Healthier Garden with Automated Watering
Mastering your garden watering timer instructions is the simplest way to ensure your plants thrive while you save time and water. By following a clear setup routine and performing basic seasonal maintenance, you'll prevent common issues like leaks or battery failure. A well-configured system provides consistent hydration, which is essential for maintaining a lush UK landscape during the drier summer months.
We specialise exclusively in Hozelock garden irrigation because we believe in providing high-quality solutions that last. With over 15 years of UK irrigation expertise, our team understands the specific needs of British gardens. We're more than just a retailer; we're your trusted partner in creating an efficient outdoor space. If you're unsure which model suits your needs, we offer free expert advice on system design to help you get it right the first time.
Ready to upgrade your outdoor space? Browse our full range of Hozelock Water Timers and discover why we're the UK's leading Hozelock specialist. It's time to take the guesswork out of gardening and let your irrigation system do the hard work for you.
Frequently Asked Questions
How do I reset my Hozelock water timer to factory settings?
To reset your Hozelock timer, remove the batteries for at least 30 seconds before reinserting them. For digital models like the Sensor Controller, press and hold the 'Water Now' button for 10 seconds until the screen icons flash or the display clears. This process wipes the internal memory and is a vital step when following garden watering timer instructions to resolve software glitches. It ensures you start with a clean slate for your new schedule.
Why is my water timer flashing a red light even with new batteries?
A flashing red light usually means the batteries aren't providing the constant 1.5V required to operate the internal motor, even if they're fresh. You must use high-quality alkaline batteries rather than cheaper zinc-carbon versions, as timers need a strong pulse of energy to open and close the valve. Check the battery compartment for any dirt or corrosion on the metal contacts. Cleaning these terminals with a dry cloth often restores the connection and stops the warning light.
Can I use a water timer with a water butt or rain barrel?
You can use a timer with a rain barrel, but it's essential to choose a zero-pressure model. Standard timers often require at least 0.1 bar of mains pressure to move the internal diaphragm, which a gravity-fed system can't produce. Specialist low-pressure timers use a motorized ball valve that rotates to allow water through regardless of the pressure level. This setup is a brilliant way to automate your eco-friendly irrigation while saving on your monthly water bills.
How often should I change the batteries in my garden timer?
Replace your batteries once every 12 months, ideally at the start of the spring growing season in March. Most high-quality alkaline batteries will power a standard timer for a full 6-month watering season without failing. If you program your system to trigger more than 3 times a day, it's safer to check the power levels every 4 months. Always refer to your garden watering timer instructions to ensure you're using the correct battery type for your specific model.
Will my water timer work during a hosepipe ban in the UK?
Your water timer can often be used during a UK hosepipe ban if it's connected to a drip irrigation system. Under the Water Industry Act 1991, many "Temporary Use Bans" provide exemptions for efficient micro-irrigation systems that use timed controllers. However, you must verify the specific rules with your local provider, such as Thames Water or Anglian Water, as regulations vary. Standard oscillating sprinklers are almost always prohibited during these conservation periods to protect local reservoirs.
What happens to my watering schedule if the batteries die?
Most garden timers lose their programmed settings and return to default if the batteries die completely. For safety, the internal valve is designed to stay in the 'closed' position when power fails, which prevents your garden from accidentally flooding. You'll need to re-enter your start times and durations once you've installed fresh power cells. Some premium models feature a 60-second backup capacitor, giving you just enough time to swap batteries without losing your custom schedule.
How do I stop my water timer from leaking at the tap connection?
Stop leaks by ensuring the 3/4 inch rubber washer is seated perfectly flat inside the female threaded connector. These washers can perish or become compressed over 2 years of use, so replacing them is a cheap and effective fix. Only tighten the timer onto the tap by hand; using a heavy wrench can crack the plastic housing and cause permanent damage. If a small drip persists, apply 3 wraps of PTFE tape to the tap threads to create a watertight seal.
Is it safe to leave my water timer outside during the winter?
It's not safe to leave your water timer outside during the winter because frost will cause internal damage. When temperatures drop below 0°C, any water trapped inside the valve expands as it freezes, which often cracks the plastic components or ruins the seals. Bring your timer indoors during October and store it in a dry place like a shed or garage. It's also wise to remove the batteries to prevent any acid leakage while the device isn't in use.
`-
Posted in
garden watering timer instructions