
Hozelock Micro Irrigation: The Complete 2026 Guide to Efficient Garden Watering
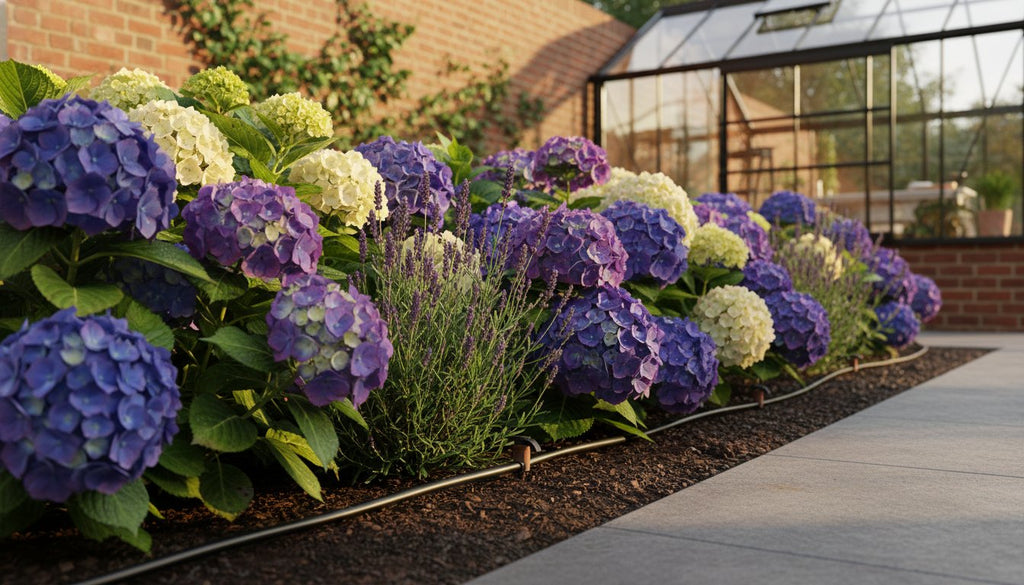
Imagine returning from a 14-day summer holiday to find your hydrangeas crisp and your lawn yellow because a neighbor forgot to water. It's a frustrating, expensive mistake that happens to thousands of UK gardeners every year. We agree that dragging a heavy hose around every evening is a chore you'd rather skip, especially when much of that water evaporates before reaching the roots. By installing a hozelock micro irrigation system, you can automate your garden care and deliver precise hydration directly to the soil.
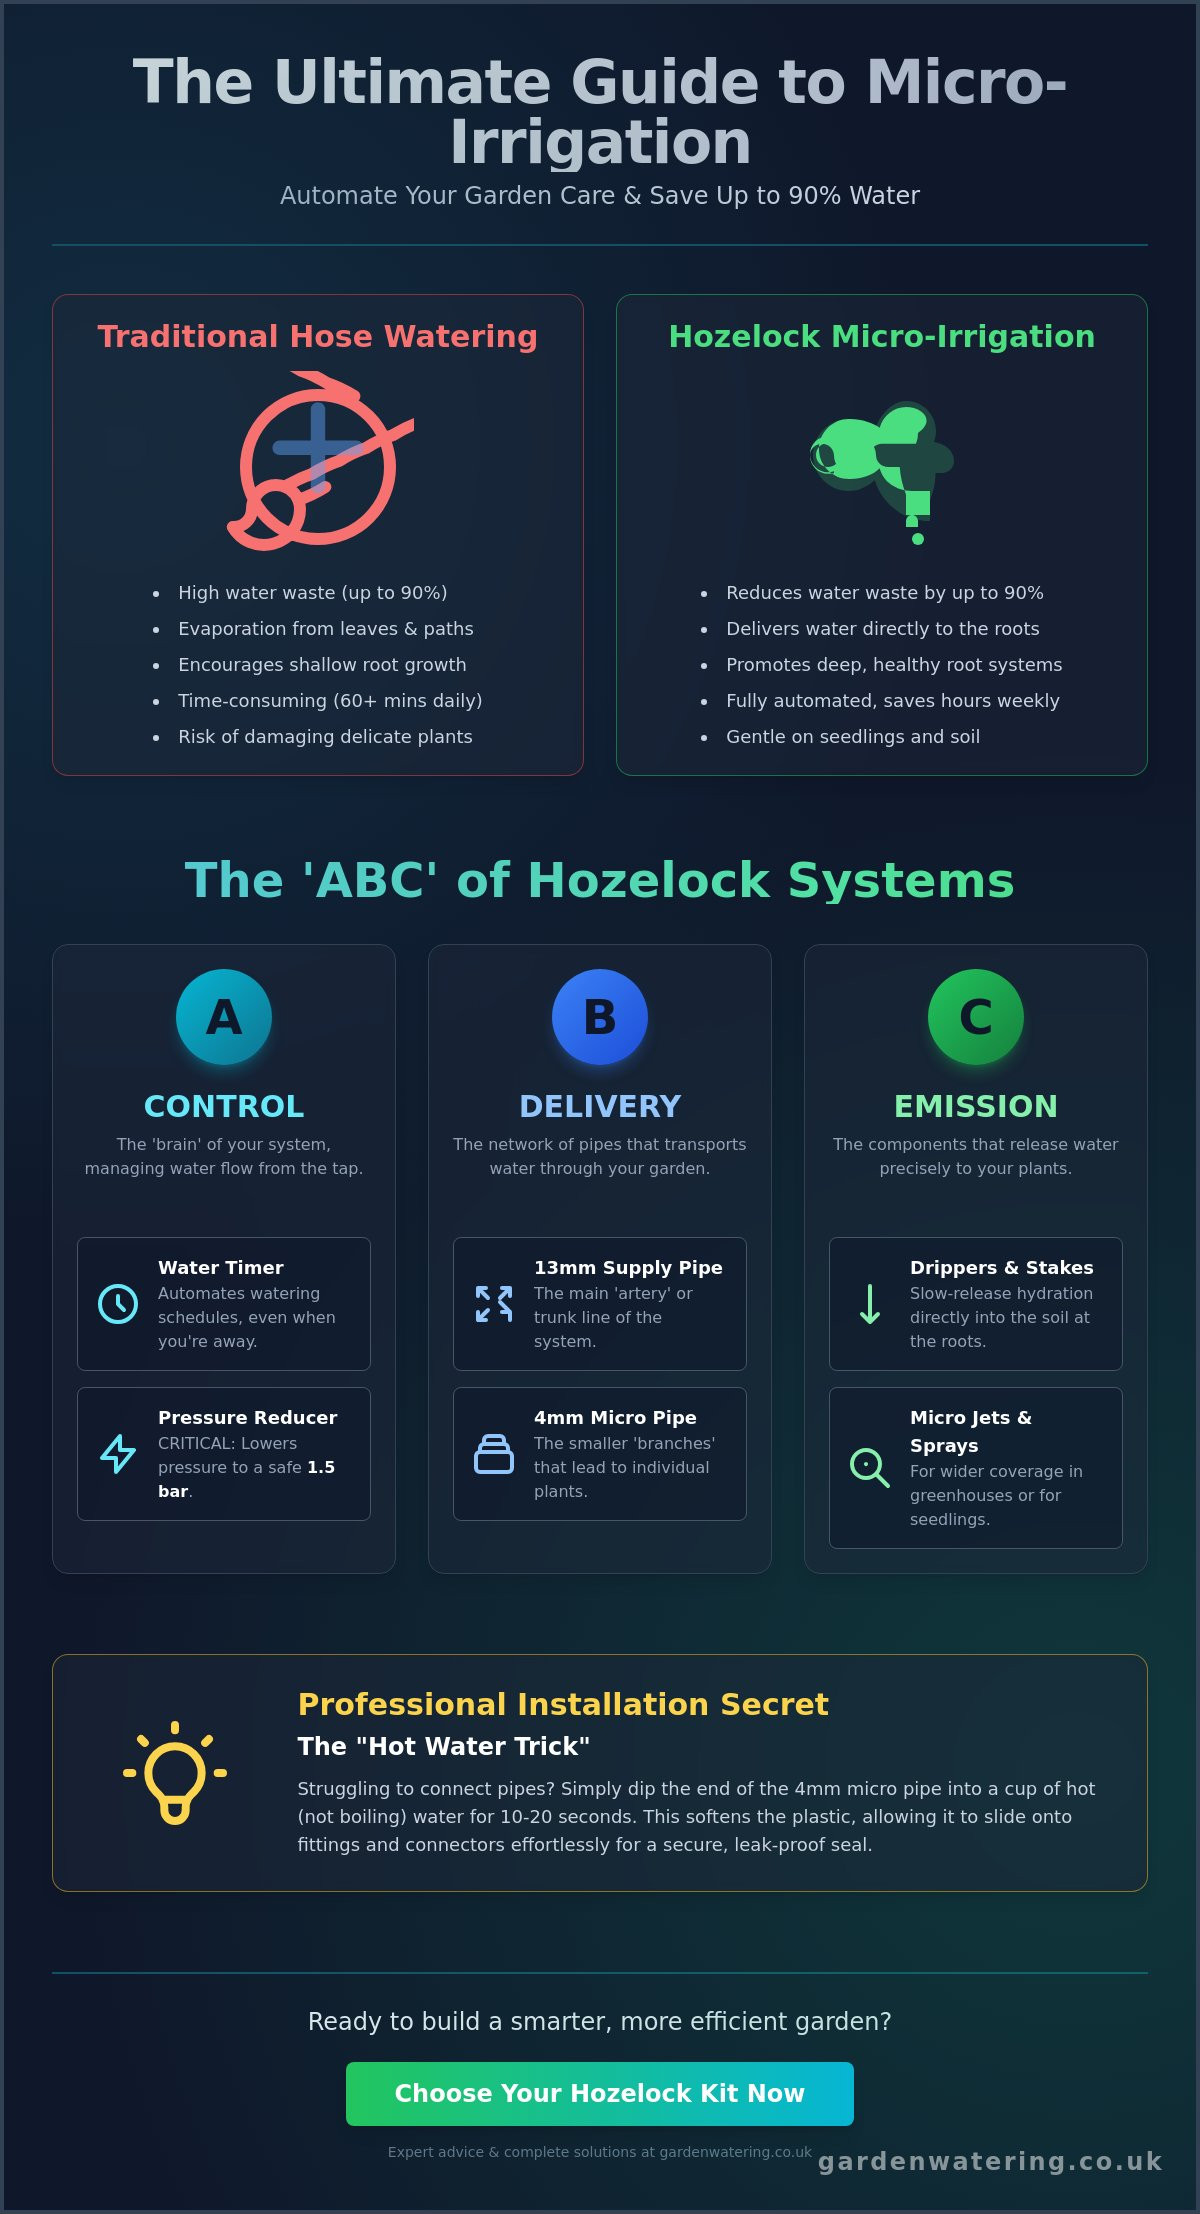
This approach reduces water waste by up to 90% compared to traditional methods, ensuring your plants thrive even during the driest July heatwaves. As specialists with over 15 years of experience, we've designed this guide to help you choose the right components with confidence. You'll learn how to design, install, and maintain a professional-grade setup that keeps your garden lush with zero daily effort. We'll cover everything from the difference between 13mm and 4mm pipes to setting up a smart timer for complete peace of mind while you're away.
Key Takeaways
- Learn how to reduce your garden water consumption by up to 90% while ensuring your plants receive precise hydration exactly where they need it.
- Master the "ABC" of hozelock micro irrigation to understand how control, delivery, and emission components work together to protect and automate your watering network.
- Discover the expert method for mapping out "Watering Zones" to provide tailored care for pots, borders, and greenhouses with minimal effort.
- Compare the best entry-level and "Plus" kits to find the perfect all-in-one solution that fits your specific garden layout and time-saving goals.
- Unlock professional installation secrets, including the "hot water trick" for effortless pipe connections and simple maintenance steps to keep your system running smoothly.
What is Hozelock Micro Irrigation and Why Does Your Garden Need It?
At its core, micro-irrigation is a precision-engineered method that delivers water directly where it's needed most: the soil. Unlike a standard hose pipe that can waste up to 90% of its output through runoff and evaporation, hozelock micro irrigation uses low-pressure drippers and stakes to ensure every drop counts. It's a high-efficiency delivery system designed to mimic natural rainfall but with pinpoint accuracy. By operating at lower pressures, the system reduces the risk of soil erosion and ensures that delicate seedlings aren't damaged by a heavy spray.
This method relies on a "slow release" philosophy. By providing a steady, gentle flow, the water penetrates deep into the root zone instead of sitting on the surface. This prevents soil compaction and encourages healthier, more resilient root systems that can better withstand drought. Many gardeners find this setup acts as a form of "holiday insurance." It's a dependable way to keep your plants thriving while you're away, removing the stress of returning to a wilted garden.
To better understand this concept, watch this helpful video:
The Environmental and Financial Benefits
Time-Saving for the Busy Gardener
Watering a medium-sized garden by hand during a summer heatwave can take over 60 minutes every single evening. A hozelock micro irrigation system eliminates this chore entirely, giving you back your leisure time. It ensures consistent hydration regardless of your work schedule, commute, or social life. When you remove the human element, you also remove the risk of forgetting to water during a heat spike. Your plants receive exactly what they need, exactly when they need it. For a deeper look at how to automate this process, read our Hozelock Automatic Watering System: The Ultimate 2026 UK Guide.
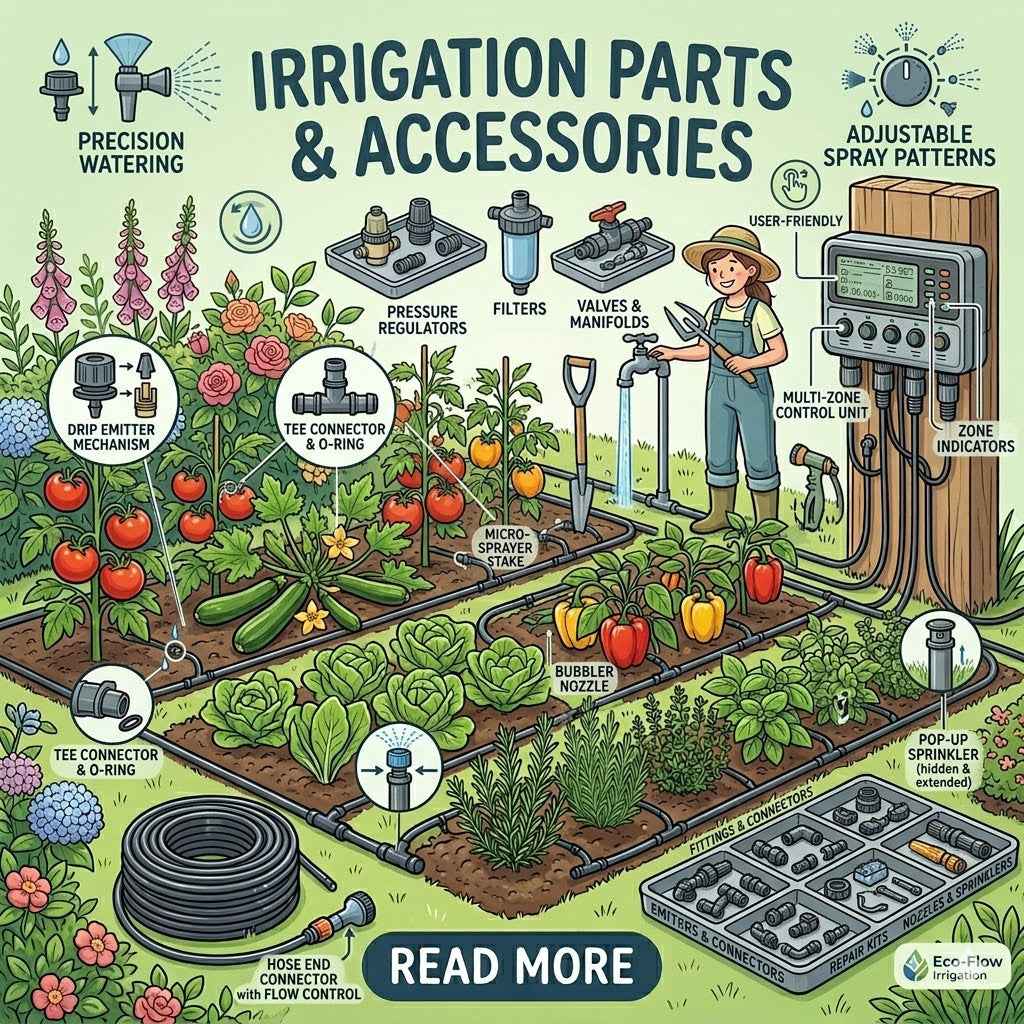
Understanding the Components: The 'ABC' of Hozelock Systems
Building a hozelock micro irrigation system is a logical process once you understand the three core stages: Control, Delivery, and Emission. Think of it as a modular network that starts at your tap and ends at the roots of your plants. Each part serves a specific purpose to ensure water reaches its destination without waste or damage to the equipment. By breaking the system down into these manageable groups, you can design a layout that scales with your garden, whether you're watering a few patio pots or a 50-meter flower border.
Section A: Tap Connectors and Controllers
Everything begins at the water source. A reliable Hozelock water timer is the brain of your system. It allows you to schedule watering for early morning or late evening when evaporation rates are lowest. This automation ensures your garden stays hydrated even when you're away. Before any pipe is laid, you must install a pressure reducer. This is a non-negotiable first step. Most domestic taps deliver water at pressures far too high for micro-components. The reducer brings this down to a steady 1.5 bar, protecting your fittings from popping off under stress.
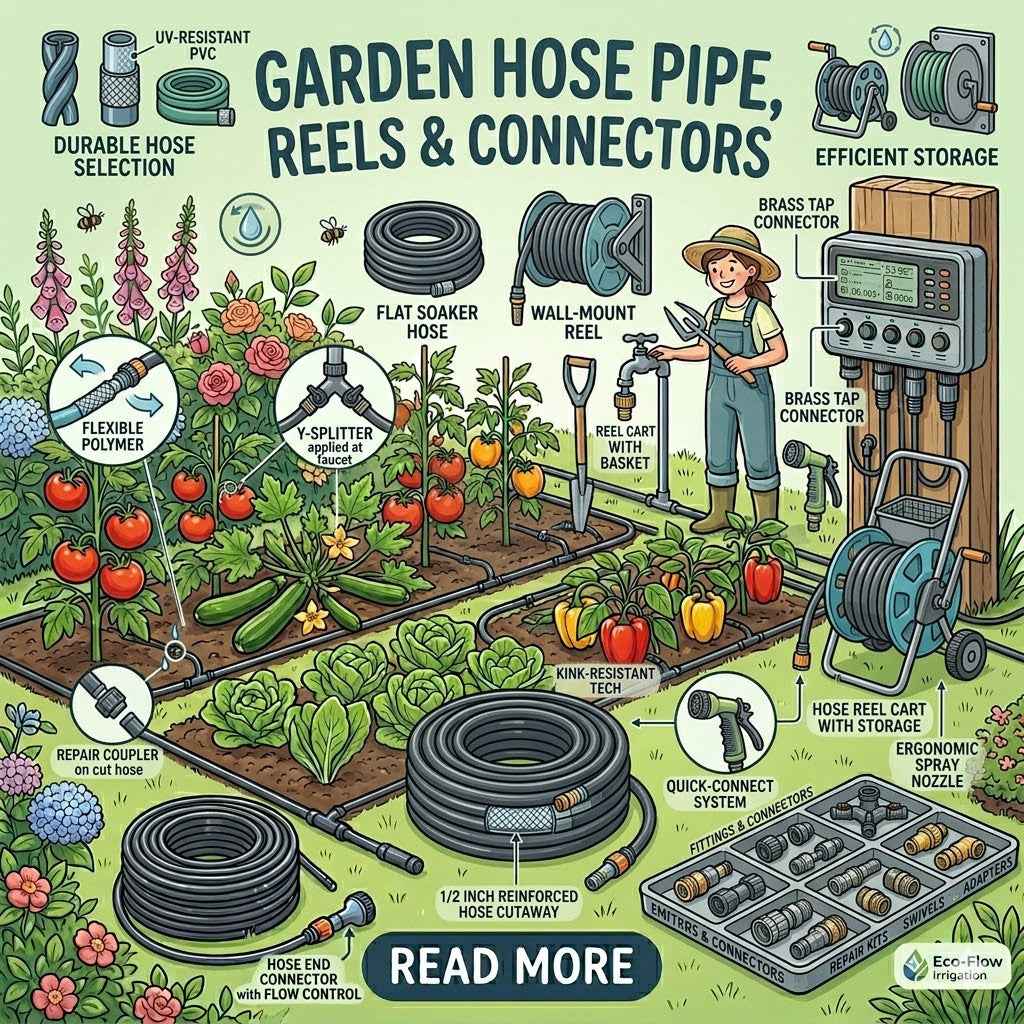
Section B: The Pipeline Network
The delivery stage involves two distinct pipe sizes that act as the "trunk and branches" of your network. You use 13mm supply pipe as the main artery. It carries the bulk of the water volume around the perimeter of your garden. To navigate corners or create splits in the line, you'll use high-quality Hozelock connectors that provide a watertight seal. From this main line, you'll use 4mm micro tube to branch off into individual pots or specific plant groups. This smaller tubing is discreet and flexible, making it easy to hide under mulch or behind foliage.
Section C: Drippers and Sprays
The final stage is emission, where water is actually delivered to the soil. For containers and hanging baskets, drippers are the most efficient choice. They provide a slow, targeted soak directly at the root zone. If you're managing flower borders or vegetable patches, micro-jets and mini-sprinklers offer broader coverage. Many of these components feature adjustable flow rates, allowing you to give a thirsty shrub more water than a small bedding plant. Utilizing these targeted tools maximizes the water-saving benefits of your hozelock micro irrigation setup, often reducing usage by up to 90% compared to traditional hose watering.
Getting the components right from the start prevents leaks and ensures your plants thrive. If you're planning a complex layout, you might find it helpful to browse our design ideas and plans for professional layout inspiration.
Planning Your Layout: Designing a System for Pots, Borders, and Greenhouses
Before you purchase a single connector, grab a pencil and paper. Sketching a map of your garden is the most effective way to prevent wasted components and ensure your hozelock micro irrigation system operates at peak efficiency. Start by marking the location of your outdoor tap and then trace the paths where you'll lay your main supply pipe. It's much easier to move a line on paper than it is to dig up a pipe once it's installed.
A professional approach involves dividing your garden into "Watering Zones" based on plant thirst levels. You shouldn't water a drought-tolerant lavender hedge on the same schedule as a thirsty tomato crop. Grouping plants with similar needs allows you to tailor the output of each zone. For instance, high-thirst areas might require 4-litre-per-hour drippers, while established shrubs only need 2-litre versions. If you're looking for visual layouts to help you start, our Design Ideas and Plans blog offers several proven templates for different garden shapes.
You must also calculate if your water pressure can handle your design. A standard UK garden tap typically delivers around 20 litres of water per minute. In a typical setup, this pressure supports approximately 30 to 40 individual drippers on one line. If your plan exceeds this, you'll need to use a water timer with multiple outlets to run zones at different times. Researching the various types of micro-irrigation emitters will help you decide which components fit your specific pressure levels.
Layout for Patio Pots and Hanging Baskets
For a professional finish on patios, use the "loop" method. Instead of running a single line that ends at the last pot, create a continuous loop of 13mm pipe. This ensures even pressure so the first pot and the last pot receive the exact same amount of water. You can hide the 4mm micro tube by running it along wall joints or tucking it under the rims of your containers. Always use stakes to keep drippers firmly in the compost; this prevents them from shifting and wasting water on the pavement.
Watering Flower Borders and Vegetable Beds
In borders, strategic placement is vital. Use micro-jets for overlapping coverage in large flower beds to ensure no dry spots remain. For vegetable rows, "soaker" style lines or porous pipes often work better than individual emitters because they provide a constant moisture strip. Your hozelock micro irrigation system should be adaptable. As plants expand during the peak growing season, you'll need to move or add emitters. Using flexible 13mm supply headers makes it easy to snap in new components as your garden grows and changes.
Choosing the Best Hozelock Micro Irrigation Kit for Your Needs
Selecting the right hozelock micro irrigation setup depends entirely on your garden's layout and the specific needs of your plants. For those new to automated gardening, the 15 and 20 pot kits serve as the perfect entry point. The 15-pot kit is tailored for smaller balconies or a modest row of patio containers. If you have a larger collection of pots, the 20-pot kit provides the extra drippers and 4mm piping required to reach every plant. Both options simplify the initial setup by providing everything you need in one box, ensuring you don't have to worry about component compatibility during your first installation.
Choosing a "Plus" kit is a strategic move for busy gardeners. These kits include a battery-operated water timer, which automates the process and ensures your plants are watered at sunrise or sunset when evaporation is at its lowest. For more specialized areas, Hozelock watering kits for greenhouses use misting components that help maintain the specific humidity levels required for tropical plants or seed propagation. The beauty of these systems lies in their modularity. You aren't locked into your first purchase; you can expand the network as your garden evolves by adding more pipework and drippers.
Pre-Boxed Kits vs. Custom Systems
Ready-made kits are excellent for first-time users because they guarantee that every part works together seamlessly. You won't find yourself with a pipe that doesn't fit a connector. The main drawback is that a generic kit might leave you with a few spare parts you don't need, or it might be slightly short on tubing for a unique garden shape. Once you understand the basics of water pressure and flow, you'll likely start buying individual irrigation fitting adaptors to customize your layout. Using a kit as a "starter pack" allows you to get the system running in under 60 minutes, while individual components let you scale up to hundreds of drippers over several seasons.
Essential Add-ons for Every System
Fine-tuning your hozelock micro irrigation system makes it truly efficient. A rain sensor is one of the smartest investments you can make. It detects rainfall and tells the timer to skip the next cycle, which prevents waterlogged soil and root rot. Inside the system, flow control valves allow you to adjust the volume of water sent to different zones. This is vital if you're watering a mix of established shrubs and delicate annuals on the same line. While the system handles the daily routine, keep Hozelock spray guns nearby for quick manual tasks or spot-watering new arrivals that haven't been linked to the main line yet.
Ready to automate your garden? Browse our full range of Hozelock watering kits today.
Installation and Maintenance: Keeping Your System Running Smoothly
Setting up your hozelock micro irrigation system is a rewarding DIY project that transforms how your garden grows. To start, unroll your 13mm supply pipe and let it sit in the sun for 20 minutes. This softens the plastic, making it much easier to handle. Once the pipe is pliable, lay it along your flower beds or patio pots according to your design. Use a Hozelock hole punch to create precise entries for your 4mm feeders or individual emitters. This specialist tool ensures a watertight seal, which prevents the messy leaks that often occur with makeshift methods.
If you are installing your system during the cooler months of 2026, you will likely find the plastic pipe is stiff and stubborn. We recommend using the "hot water trick" to save your hands. Carry a thermos of hot water and dip the end of the pipe into it for 30 seconds before inserting a connector. This softens the material just enough to allow the fitting to slide in with minimal effort. It creates a professional, secure bond once the plastic cools and contracts.
Before you finish the job, you must test the system zone-by-zone. Turn the water on before you attach the end caps. This flushing phase is vital because it clears out any soil or plastic shavings trapped during the installation process. Once the water runs clear, secure your end plugs and check every dripper for consistent flow. For more detailed advice on system layouts, visit our Garden Watering Systems UK: The Complete 2026 Irrigation Guide.
Common Installation Mistakes to Avoid
One frequent error is overloading a single line with too many outlets. A standard 13mm supply pipe typically supports a maximum of 30 drippers. If you exceed this, you will notice a significant pressure drop, leaving plants at the end of the run completely dry. Additionally, never force a pipe around a sharp corner. This causes kinking, which restricts water flow and puts unnecessary strain on your pump or tap. Use elbow connectors for any turn greater than 45 degrees to maintain high efficiency.
Winterising and Annual Maintenance
Take the Next Step Toward a Greener Garden
Designing a thriving outdoor space for 2026 starts with mastering the 'ABC' of hozelock micro irrigation. By selecting the right drippers and planning your layout for specific zones like greenhouses or borders, you'll save water and time while ensuring your plants get exactly what they need. Regular maintenance, such as checking filters and flushing the lines once a year, keeps your system performing at its peak for many seasons to come.
As an Official Hozelock Specialist Retailer with over 15 years of expert irrigation experience, we're here to help you get it right. We focus exclusively on these systems, providing the expert advice needed to ensure you buy the correct parts the first time. Our team understands the practical challenges of garden care and offers solutions that make professional results accessible to every gardener. You don't have to guess which kit fits your needs when you have a trusted partner to guide your choice.
Your garden is ready to flourish with the right support and technology behind it.
Frequently Asked Questions
Can I connect a Hozelock micro irrigation system to a water butt?
Yes, you can connect your system to a water butt by using a Hozelock Water Butt Pump to provide the necessary pressure. Standard gravity-fed setups often lack the 1.5 bar pressure required to push water through multiple emitters effectively. By using a pump, you ensure your hozelock micro irrigation setup delivers a consistent flow to every plant in your garden.
How many drippers can I run off a single Hozelock system?
A single 13mm supply pipe can support up to 30 drippers while maintaining efficient water pressure. If your garden design requires more than 30 outlets, you should use a T-piece connector to split the mainline into two separate branches. This configuration ensures that each plant receives the full 4 litres of water per hour specified by the manufacturer.
Is Hozelock micro irrigation compatible with other brands?
Hozelock components are fully compatible with most international irrigation brands that use standard 13mm and 4mm pipe sizes. You can easily integrate Hozelock drippers or timers into an existing Claber or Gardena system. We recommend using Hozelock's own connectors for the main joins to guarantee a leak-free seal that handles pressure up to 3 bar.
What happens to my irrigation system during a hosepipe ban?
Most UK water companies provide exemptions for drip irrigation systems during a Temporary Use Ban because they are 90 percent more efficient than manual watering. These systems deliver water directly to the root zone, which drastically reduces surface evaporation. You should always check the specific 2026 guidelines from your local water provider to ensure your hozelock micro irrigation system meets their current criteria.
Do I need a special tool to install Hozelock micro irrigation?
You don't need a complex toolkit, but a Hozelock hole punch is essential for a professional installation. This small tool creates a precise 4mm entry point in the 13mm supply pipe for your feeder lines. Using the correct punch prevents leaks and ensures the 4mm joiners fit securely without the need for adhesive or specialist plumbing skills.
How long should I set my Hozelock timer to run for each day?
Set your timer to run for 20 minutes at sunrise to ensure water reaches the roots before the heat of the day. In mid-summer, you might add a second 10 minute cycle at dusk for thirsty container plants. This targeted approach prevents the 30 percent water loss typically caused by evaporation when watering in direct sunlight.
Can I bury Hozelock micro irrigation pipes under soil or mulch?
You can safely bury the 13mm supply pipes under 50mm of organic mulch or decorative bark to keep them out of sight. It's important that you don't bury the actual drippers, as soil particles will eventually clog the small 2mm apertures. Keeping the main pipes covered also protects the plastic from UV damage, extending the life of your system by several years.
What is the difference between a dripper and a micro-jet?
A dripper releases water slowly at a single point, whereas a micro-jet sprays water over a larger circular area. Use drippers for individual pots or baskets where you want to deliver exactly 4 litres per hour to a specific root ball. Micro-jets are better for densely planted borders where you need to cover a 180 or 360 degree radius with a fine mist.
`-
Posted in
hozelock micro irrigation