Drip Irrigation for Pots & Containers: 2026 UK Guide
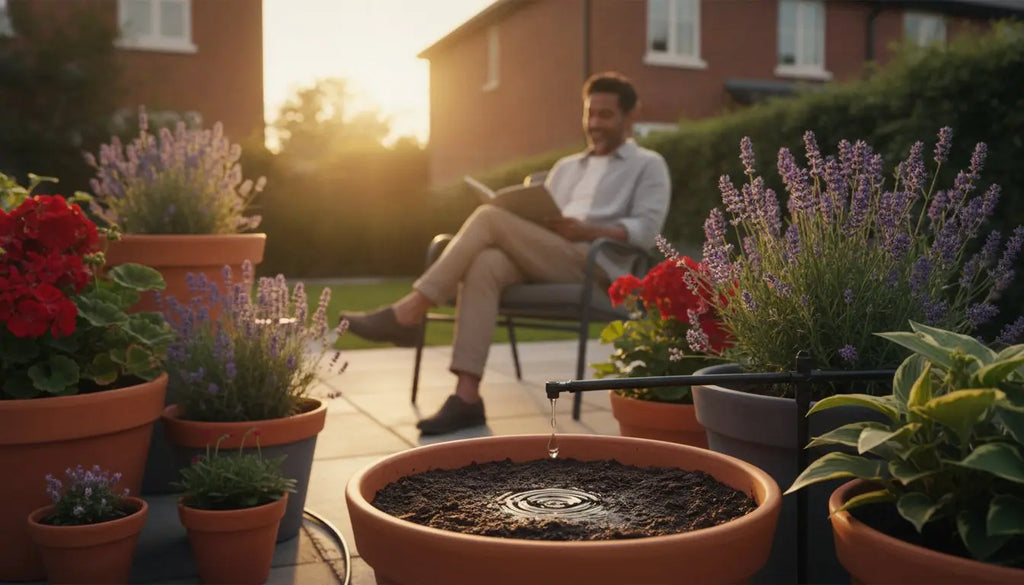
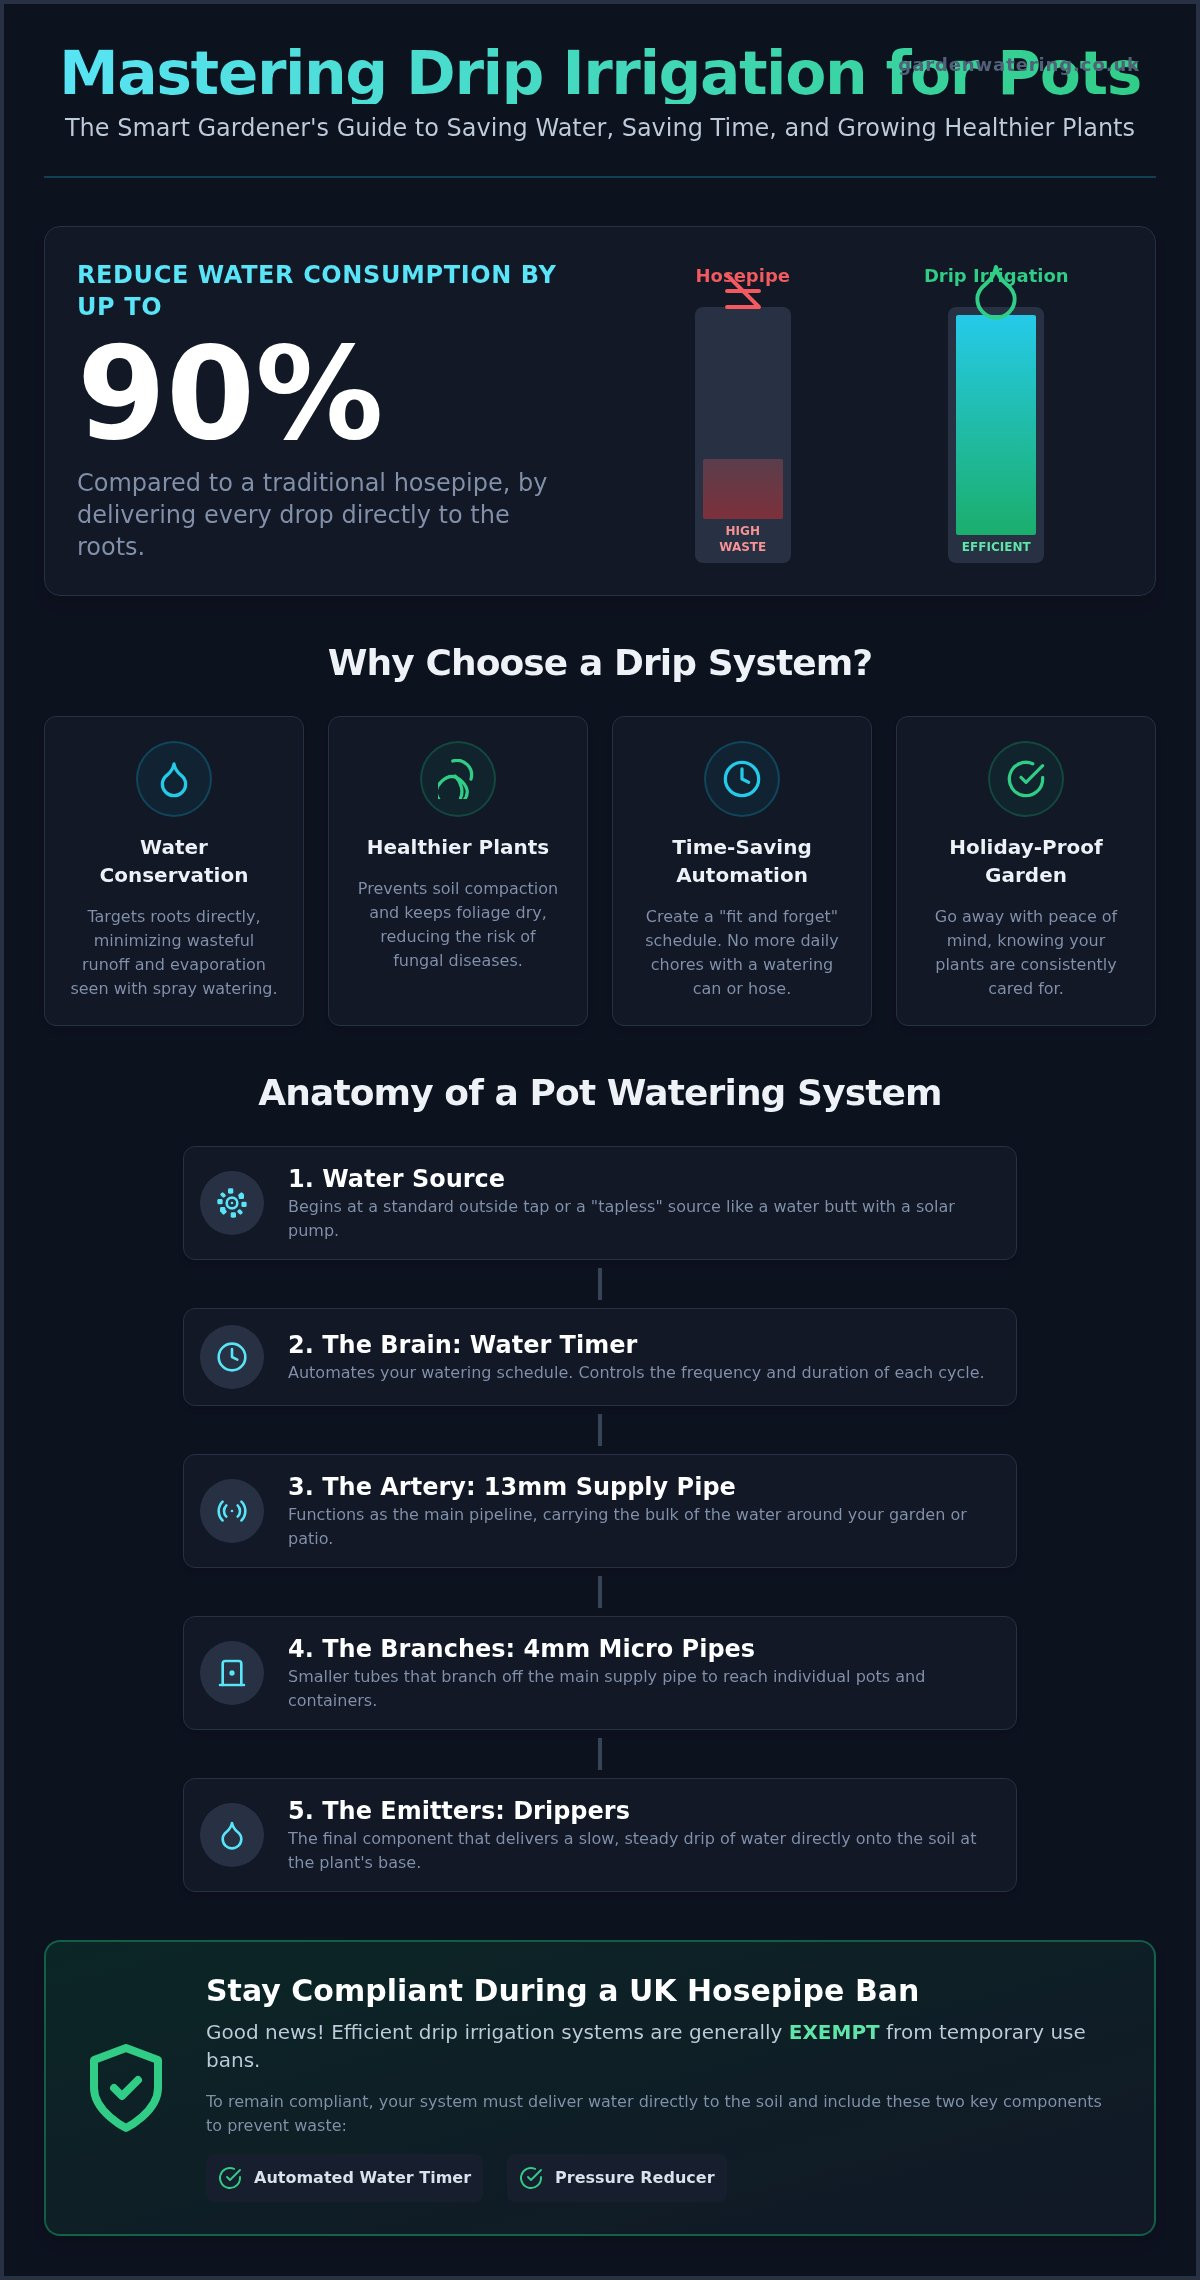
Did you know that switching to drip irrigation for pots and containers can reduce your garden water consumption by up to 90% compared to using a traditional hosepipe? It's a staggering figure that highlights why so many UK gardeners are moving away from the manual trek with a watering can. You likely already know the frustration of watching your favourite patio displays wilt during a summer heatwave, or the struggle of trying to get water to reach the roots of a root-bound plant before it simply runs off the surface.
We understand that connecting dozens of pots to a single tap can feel like a technical challenge, but it's the most reliable way to achieve a healthy, vibrant garden. This guide will help you master the art of automated watering so you can enjoy a "fit and forget" system that saves you hours of daily chores. We'll explore how to match emitter flow to your specific container sizes and explain why these efficient setups are your best tool for keeping plants thriving, especially as many UK water companies have implemented temporary use bans this August.
Key Takeaways
- Learn how to select the right drippers for your specific layout, ensuring that every plant receives the precise amount of hydration it requires.
- We explain how to configure a reliable drip irrigation for pots and containers using professional Hozelock components like timers and pressure reducers.
- Discover the best way to map your garden into watering zones so that different pot sizes and plant varieties all thrive simultaneously.
- Get practical advice on seasonal maintenance and clearing limescale to keep your system performing at its peak throughout the summer.
- Understand how an automated setup protects your landscape during dry spells while significantly reducing your daily garden chores.
Understanding Drip Irrigation for Pots and Containers
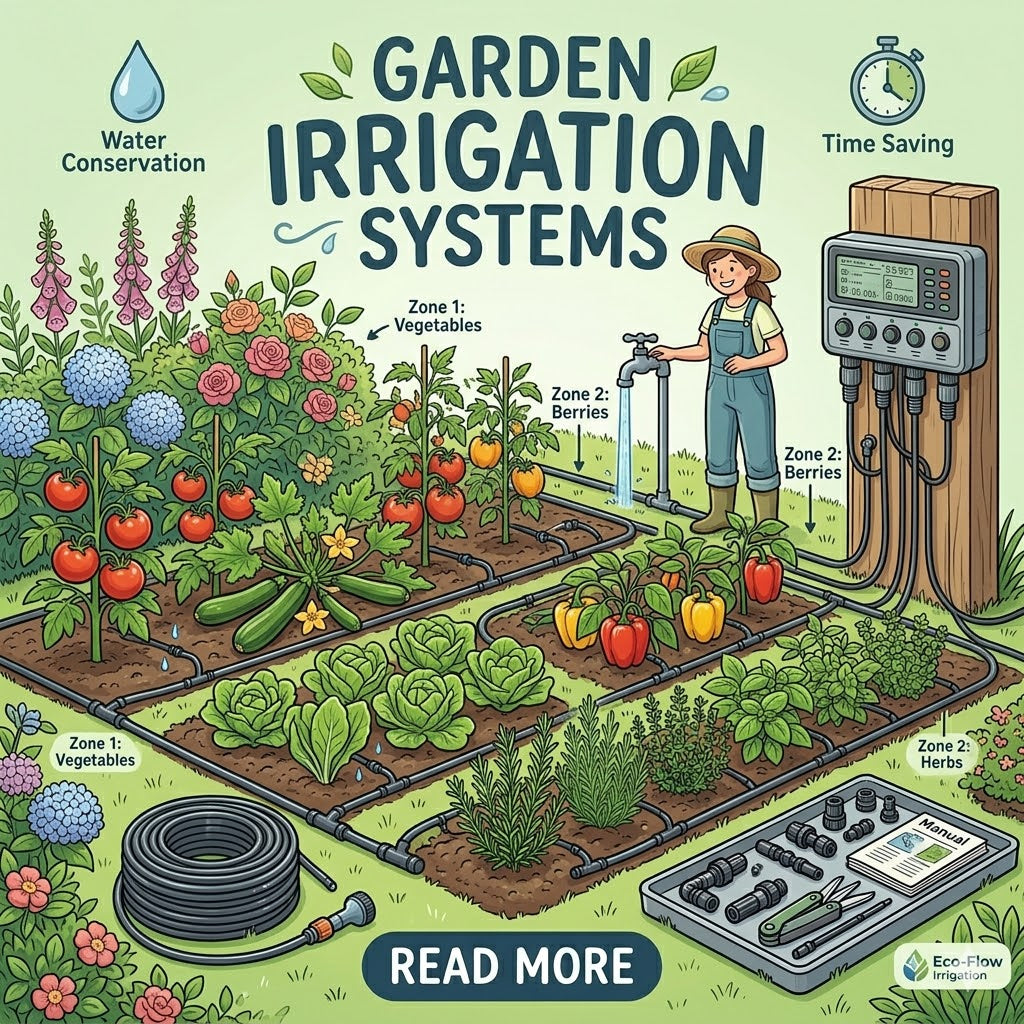
At its simplest, Understanding Drip Irrigation means looking at a system designed to deliver water exactly where it's needed. Rather than soaking the entire surface of a garden, this method uses a network of micro-pipes to provide precise droplets directly to the root zone of your plants. It's a game-changer for anyone managing a collection of patio pots or balcony planters. Because the water is delivered slowly, the soil has time to absorb every drop, preventing the wasteful runoff often seen with manual watering.
To better understand this concept, watch this helpful video:
The Benefits of Low-Volume Irrigation
Containers present a unique challenge because their soil dries out significantly faster than ground soil. Heavy hosing often leads to soil compaction and nutrient leaching, where the force of the water washes away essential minerals. Micro-Drip is the industry standard for domestic container gardens, providing a slow, steady release that keeps the soil structure intact. Because the water goes straight to the roots, you also keep the foliage dry. This simple shift reduces the risk of fungal diseases that often plague damp leaves in humid weather.
Is Drip Irrigation Allowed During a UK Hosepipe Ban?
As of August 2026, several UK water companies have implemented temporary use bans. However, efficient drip systems are generally exempt from these restrictions because they are not handheld and deliver water directly to the soil. To remain compliant, your setup must include water timers and pressure reducers to ensure there's no unnecessary waste. These components help you maintain a thriving garden while adhering to environmental responsibilities. For a deeper look at current regulations, see our Hosepipe Bans guide.
Essential Components of a Pot Watering System
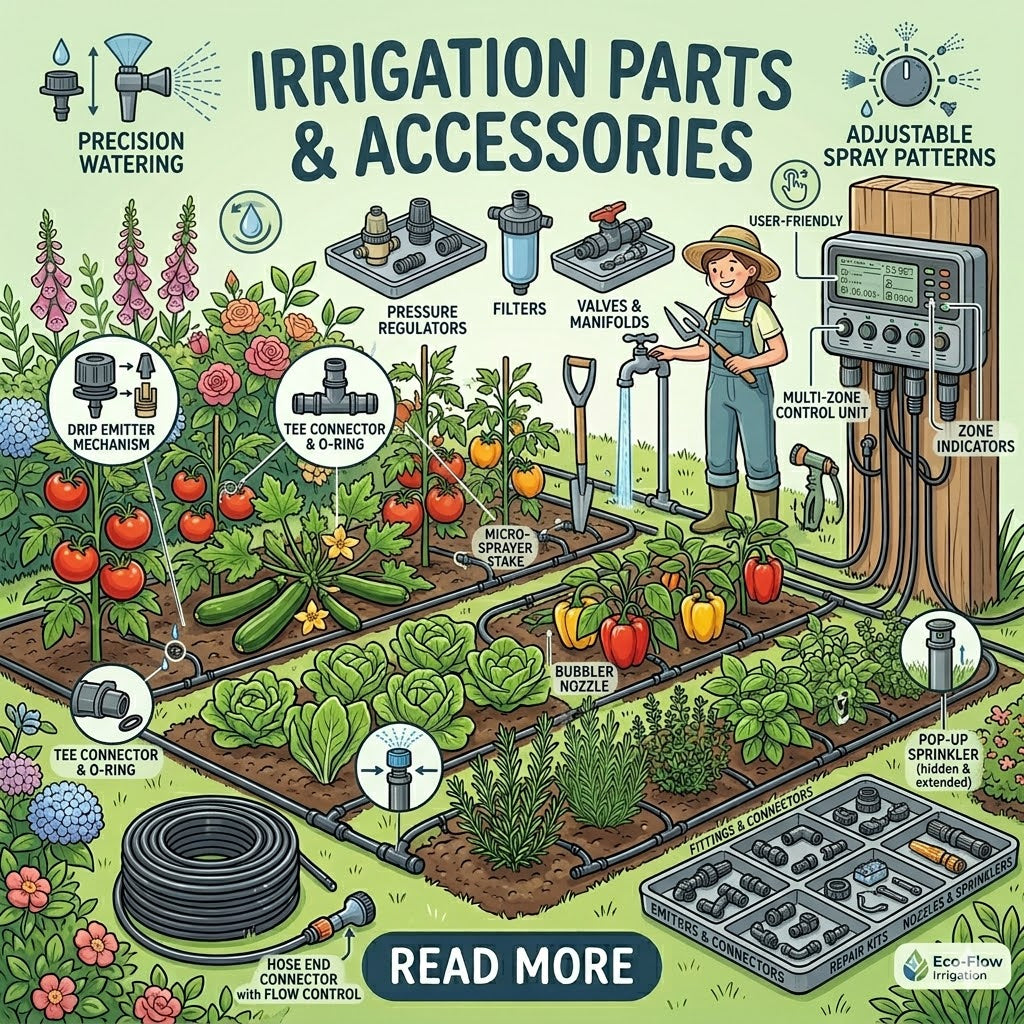
Building a reliable system for drip irrigation for pots and containers requires more than just a few lengths of hose. It's a structured network where each part plays a specific role in maintaining plant health. The water timer acts as the "brain" of your setup, managing the frequency and duration of every watering cycle. By automating this process, you ensure your plants receive hydration at the most effective times, such as early morning, which is a key part of successful container maintenance in the UK climate.
The physical delivery of water follows a clear hierarchy. You start with a 13mm supply pipe, which functions as the main artery of the system. This larger pipe carries the bulk of the water around your patio or garden. From there, you use 4mm micro pipes to branch off to individual pots. This motorway and slip road approach ensures that every container, no matter how far from the tap, receives adequate pressure. High-quality connectors and adaptors are essential here to create a leak-free transition. If you're just starting, browsing our Hozelock watering kits can help you see how these components fit together in a complete package.
Choosing Your Water Source
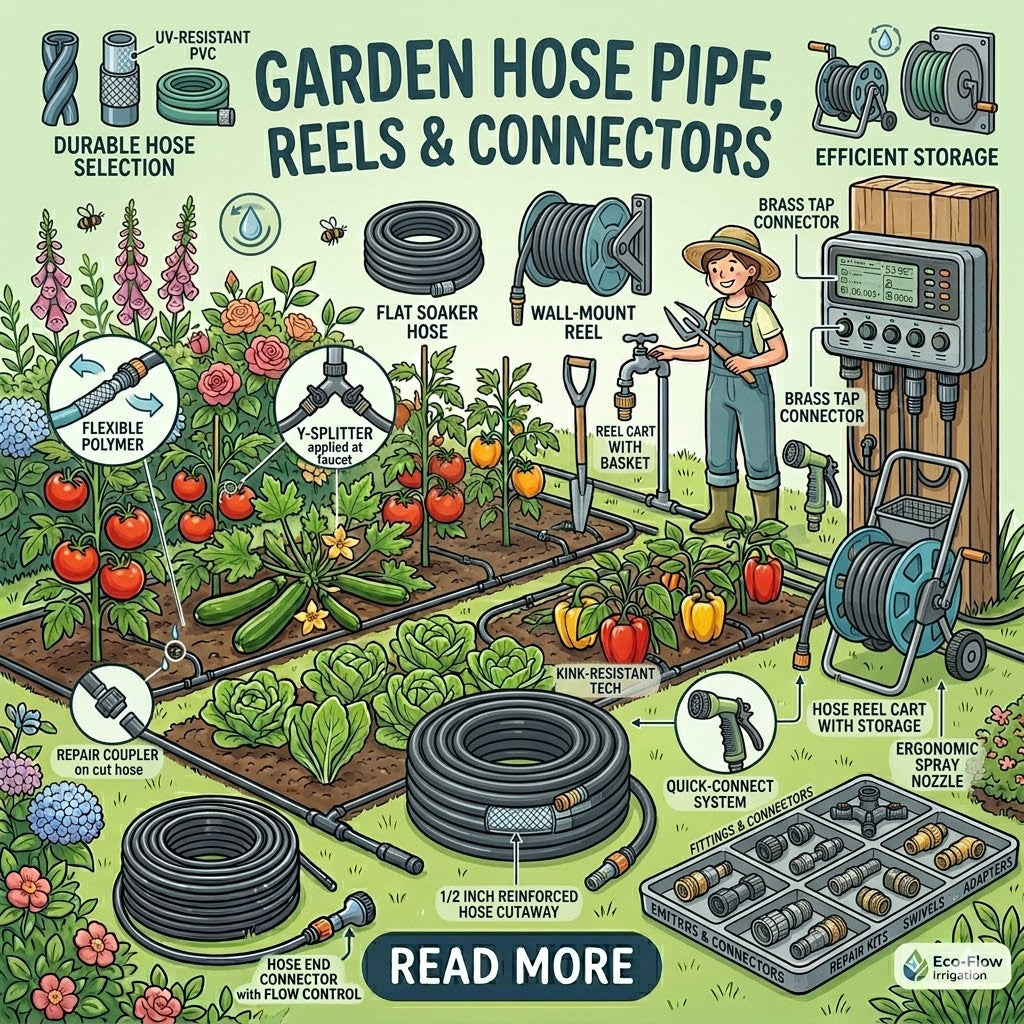
Most gardeners connect their system to a standard UK outside tap using Hozelock connectors for a secure, click-fit join. However, we're seeing a significant rise in "tapless" gardening. For those living in apartments or urban spaces with balconies, solar-powered pumps are the ideal solution. these units draw water from a separate tank or bucket, meaning you don't need a mains connection to keep your pots thriving. If you prefer a sustainable approach, you can also gravity-feed your system from a water butt, though this often requires specific low-pressure drippers to ensure a consistent flow.
The Role of the Pressure Regulator
UK mains water pressure is often too high for delicate micro-fittings to handle. Without regulation, you'll likely experience "pop-offs," where the micro-pipes are physically blown out of their connectors by the force of the water. Aiming for a "sweet spot" of 1.5 bar is essential for a stable system. A Hozelock Pressure Regulator acts as a vital safety valve by lowering mains pressure to a consistent level that prevents damage to delicate micro-fittings. This simple addition transforms a temperamental setup into a dependable, "fit and forget" solution for the entire summer.
Selecting the Right Drippers: Adjustable vs. Pressure Compensating
Choosing the correct emitter is the final step in tailoring your drip irrigation for pots and containers to the specific needs of your plants. Not all pots are created equal; a large terracotta tub filled with thirsty tomatoes requires a different approach than a small ceramic pot holding a slow-growing succulent. By selecting the right dripper, you ensure that water is delivered at a rate the soil can actually absorb. This prevents the common issue of water pooling on the surface and running down the inside of the pot without ever reaching the roots.
For high-density seedling trays or shallow troughs, micro-sprays offer a different solution. These provide a gentle mist over a wider area, which is far better for delicate young plants than a concentrated drip. If you are managing long window boxes or rectangular planters, a dedicated drip line is often the most efficient choice. This functions as the "soaker hose" equivalent for containers, featuring pre-installed emitters every few centimetres to provide even moisture along the entire length of the planter.
When to Use Adjustable End-of-Line Drippers
Adjustable drippers are incredibly versatile because they allow you to manually "dial in" the flow rate, typically ranging from 0 to 40 litres per hour. They are the ideal choice for smaller collections where you can easily reach each pot to make minor tweaks. You can simply turn the cap to increase the volume for thirsty specimens during a July heatwave or shut them off entirely if a container is temporarily empty. However, be precise when using these with smaller plants. It's a frequent mistake to leave the dial too far open for small succulents, which can lead to waterlogged soil and root rot.
The Advantage of PC (Pressure Compensating) Systems
If your garden layout involves varying elevations, such as hanging baskets or tiered shelving, Pressure Compensating (PC) drippers are essential. These emitters use a flexible internal diaphragm to deliver a fixed volume of water, regardless of changes in the mains pressure or the height of the pot. This technology ensures that the last container on a long run receives exactly the same amount of hydration as the first one next to the tap. Many professional Hozelock Watering Kits now incorporate this PC technology. It's the most reliable way to guarantee uniform plant health across complex layouts without having to manually balance the system yourself.
How to Design and Install Your Pot Watering Layout
Designing an effective layout for drip irrigation for pots and containers starts with a simple map. Before you cut any pipe, group your containers into zones based on their water requirements. Thirsty vegetables like tomatoes should be on one branch, while drought-tolerant ornamentals sit on another. This planning phase prevents the common issue of having low pressure at the end of your run, ensuring every plant receives its fair share of hydration. Successful installation is about managing these hydraulic needs before the first drop of water flows.
- Step 1: Map your pots and group them by water requirement into specific zones.
- Step 2: Lay your 13mm main supply pipe along the perimeter of your patio or against a wall to keep it discreet.
- Step 3: Use a dedicated hole punch to insert 4mm micro-pipe offshoots that lead directly into each pot.
- Step 4: Secure your pipes with stakes to prevent movement and install your chosen drippers at the end of each micro-pipe.
- Step 5: Run a five-minute test cycle to check for leaks and adjust the flow rates on any adjustable emitters.
If you need inspiration for complex garden shapes, you can explore our design ideas and plans to find a layout that works for your specific space.
Watering Hanging Baskets and Vertical Gardens
Vertical systems present a unique hydraulic challenge because they have to fight against gravity. When you run a pipe up a wall to a hanging basket, the water pressure naturally drops. This is why vertical gardens require higher-quality PC drippers to ensure a consistent flow rate regardless of height. Use wall clips to keep the 4mm pipe taut against brickwork or downpipes for a clean look. If you make a mistake with your hole punch, "goof plugs" are small plastic inserts that seal the hole perfectly, allowing you to move your offshoot without replacing the entire main pipe.
Common Installation Mistakes to Avoid
The most frequent error we see is exceeding the maximum run length. For a standard 13mm supply pipe, you should keep the total length under 30m to maintain adequate pressure. If your garden is larger, consider splitting the system into two separate lines from the tap. Avoid kinking the micro-pipe by using proper elbows and T-junctions rather than forcing the tube around sharp corners. Finally, always flush the system by running water through the pipes before you attach the final drippers. This simple step clears out any grit or plastic shavings that could otherwise block your emitters immediately.
Maintenance and Maximising Your Hozelock System
Once your drip irrigation for pots and containers is running, a small amount of regular maintenance will keep it performing perfectly for years. While these systems are designed for durability, the environmental conditions in a typical UK garden can eventually impact flow rates. Performing seasonal checks allows you to spot small issues before they affect the health of your plants. You should walk the line once a month to ensure stakes are still upright and drippers haven't been moved by curious pets or heavy rainfall.
Expanding your layout is one of the greatest benefits of a modular Hozelock system. If you add new pots to your patio, you don't need to start from scratch. You can simply use a T-junction to branch off your existing 13mm supply pipe or add a new 4mm offshoot using your hole punch. This flexibility makes it easy to grow your garden over time while keeping the same reliable "brain" at the tap. Just remember to check that your total pipe length remains within the recommended limits to maintain consistent pressure across all emitters.
Cleaning and Descaling Emitters
Many UK gardeners live in hard water areas where limescale can slowly build up inside small components. If you notice a drop in performance, a simple vinegar soak can restore flow to clogged drippers without the need for expensive replacements. Simply remove the affected emitters and leave them in a bowl of white vinegar overnight to dissolve the calcium deposits. To prevent these issues from the start, always ensure your inline filter is installed at the beginning of the system. You can test if an emitter is partially blocked by observing if it produces a steady drip or a weak, irregular trickle compared to others on the same line.
Winter Care for Irrigation Hardware
Preparing your system for the colder months is the best way to prevent frost damage. Water expands as it freezes, which can easily split plastic pipes or damage the internal valves of your hardware. You must remove your water timer before the first frost and store it indoors in a dry place. Leaving a timer attached to a frozen tap is the most common cause of winter failure.
Draining the lines is equally important for the longevity of your pipes. Open the end plugs of your 13mm supply pipe to allow any trapped water to run out. While the pipes themselves are UV-stabilised and can stay outside, keeping them empty prevents them from becoming brittle during a deep freeze. For a complete checklist on seasonal transitions, refer to our Hozelock Automatic Watering Guide to ensure your system is ready for the following spring.
Enjoy a Vibrant, Low-Maintenance Garden All Summer
As an official Hozelock Specialist Retailer with over 15 years of irrigation expertise, we're dedicated to helping you get every detail right. Whether you're designing a bespoke layout for a complex balcony or looking for a reliable starter set, we provide free expert advice to ensure your plants stay healthy. Shop our expert-curated Hozelock Drip Irrigation Kits today and start your journey toward a more efficient garden. You'll soon discover that a small investment in planning today leads to a summer of effortless, thriving beauty.
Frequently Asked Questions
Can I water hanging baskets and floor pots on the same system?
Yes, you can water both together if you use pressure-compensating drippers to counteract the effects of gravity. These specialized emitters ensure that the water reaches the hanging baskets at the top of the line with the same force as the pots on the ground. Without them, the lower containers would receive most of the water while the baskets remained dry.
How many pots can I water from a single outside tap?
A standard 13mm main line can typically support up to 30 pots, depending on the combined flow rate of your emitters. If your collection is larger than this, you should divide the layout into separate zones. This prevents the pressure from dropping too low at the end of the line, which would leave your furthest plants thirsty.
Does drip irrigation work without an outside tap?
You don't need a mains tap to install drip irrigation for pots and containers if you use a solar-powered pump. These units draw water directly from a tank or water butt, making them perfect for balconies or allotments. They utilize the sun's energy to power the pump and timer, providing a completely independent watering solution for tapless gardens.
How long should I set my timer to run for potted plants?
For most UK containers, setting your timer to run for 5 to 15 minutes twice a day is usually sufficient. During extreme heat, you might increase this to 20 minutes. It's better to water early in the morning or late in the evening to reduce evaporation and ensure the moisture reaches the roots before the sun dries the soil.
What is the difference between 13mm and 4mm irrigation pipe?
The 13mm pipe acts as the main artery carrying water from your tap, while the 4mm micro pipe serves as the final delivery tube for each pot. You should use the larger pipe for the majority of the distance to maintain pressure. The smaller 4mm tube should only be used for short offshoots of up to 3 or 4 metres to reach individual containers.
Will my drip system work if I have low water pressure?
Drip systems are actually the best choice for gardens with low water pressure because they operate at much lower flow rates than sprinklers. You can optimize performance by using specialized low-pressure drippers and keeping your main pipe runs as short as possible. If the pressure is extremely low, consider raising your water source to use gravity to your advantage.
How do I stop my irrigation pipes from blowing off the connectors?
Installing a pressure reducer at the tap is the most effective way to stop pipes from blowing off their connectors. Most systems are designed to operate at 1.5 bar, whereas UK mains pressure can often reach 5 bar or higher. If you've already fitted a reducer and still have issues, check that your micro-pipe is pushed fully onto the barb of the connector.
Can I add liquid fertiliser to my drip irrigation system?
You can add liquid fertiliser to your system using a dedicated fertiliser injector or a fertigator unit. These devices sit between the tap and the supply pipe, slowly diluting the nutrients into the water stream. Just ensure you use a fully soluble liquid feed to prevent any particles from clogging the delicate internal mechanisms of your drippers.
`-
Posted in
Automated Watering, Container Gardening, Drip Irrigation, drip irrigation for pots and containers, Hozelock, Patio Gardening, Summer Plant Care, UK Gardening Guide, Water Saving Tips