What Do I Need for a Complete Hozelock Drip Kit?
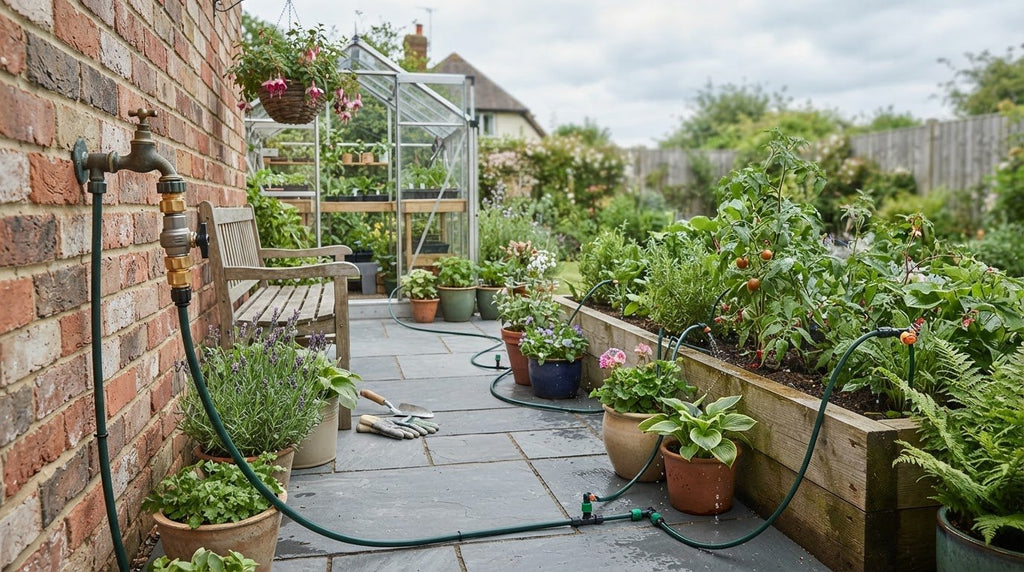
If you’re asking “what do i need for a complete hozelock drip kit”, start with the route from your water source to each plant. The right setup depends on how your tap connection, tubing, fittings and outlets work together, and on the layout you want to water.
Kit contents and quantities vary, and pots, borders and hanging baskets may need different outlet positions. Use this checklist to understand each component, plan your layout and compare kits without paying for parts your garden won’t use.
We’ll cover the water connection, tubing, fittings and plant outlets, as well as when a timer may be useful. You’ll also learn how to match a setup to your plants, layout and water supply.
Key Takeaways
- A complete setup forms a connected route from the water source to the plants.
- Check the roles of the tap connection, tubing, fittings and plant outlets.
- Choose outlets to suit grouped borders, rows, containers or greenhouse plants.
- Map your plants and tubing routes, then compare your plan with each kit’s stated contents.
- Focus on coverage and compatible parts, not the longest contents list.
What makes a Hozelock drip kit complete?
“Complete” doesn’t mean every garden needs the same components. It means the selected parts connect from your water source to the outlets serving your plants. The route, planting layout and type of outlet determine what you need.
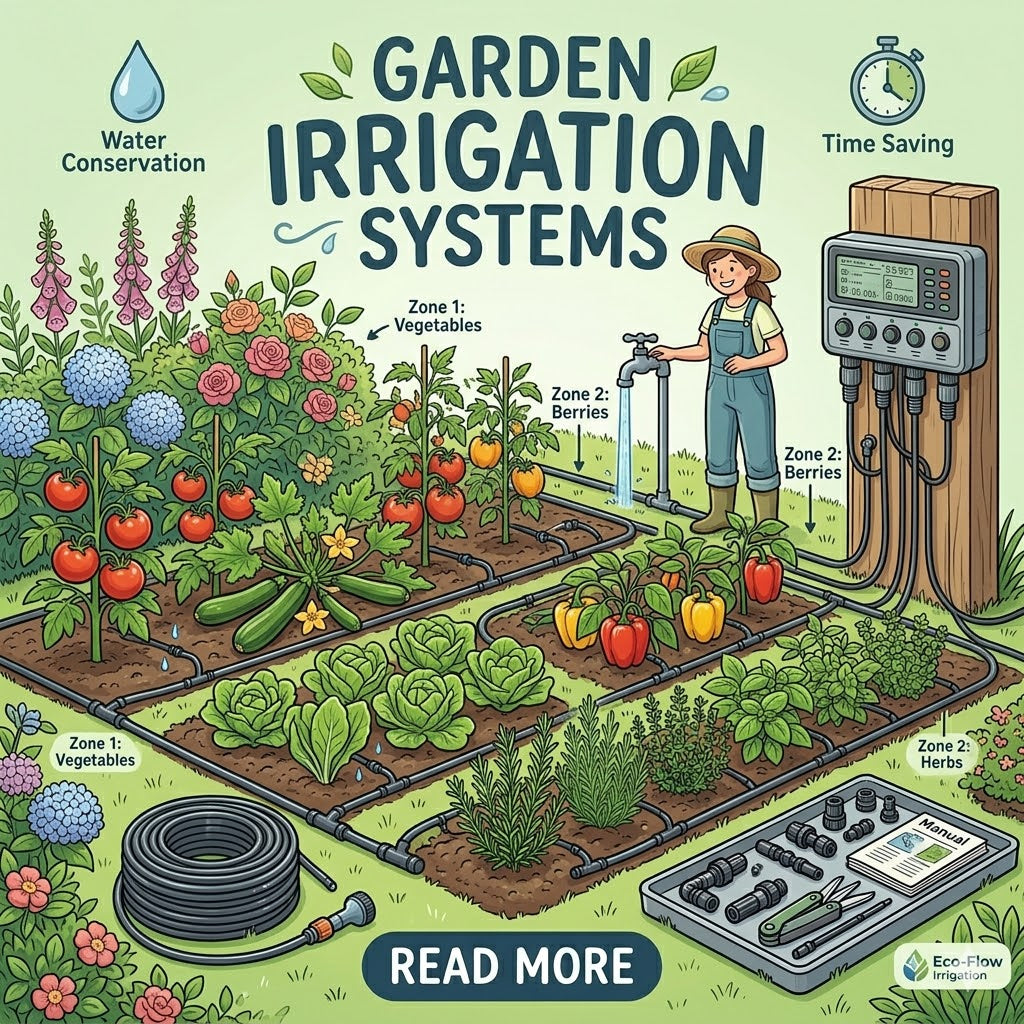
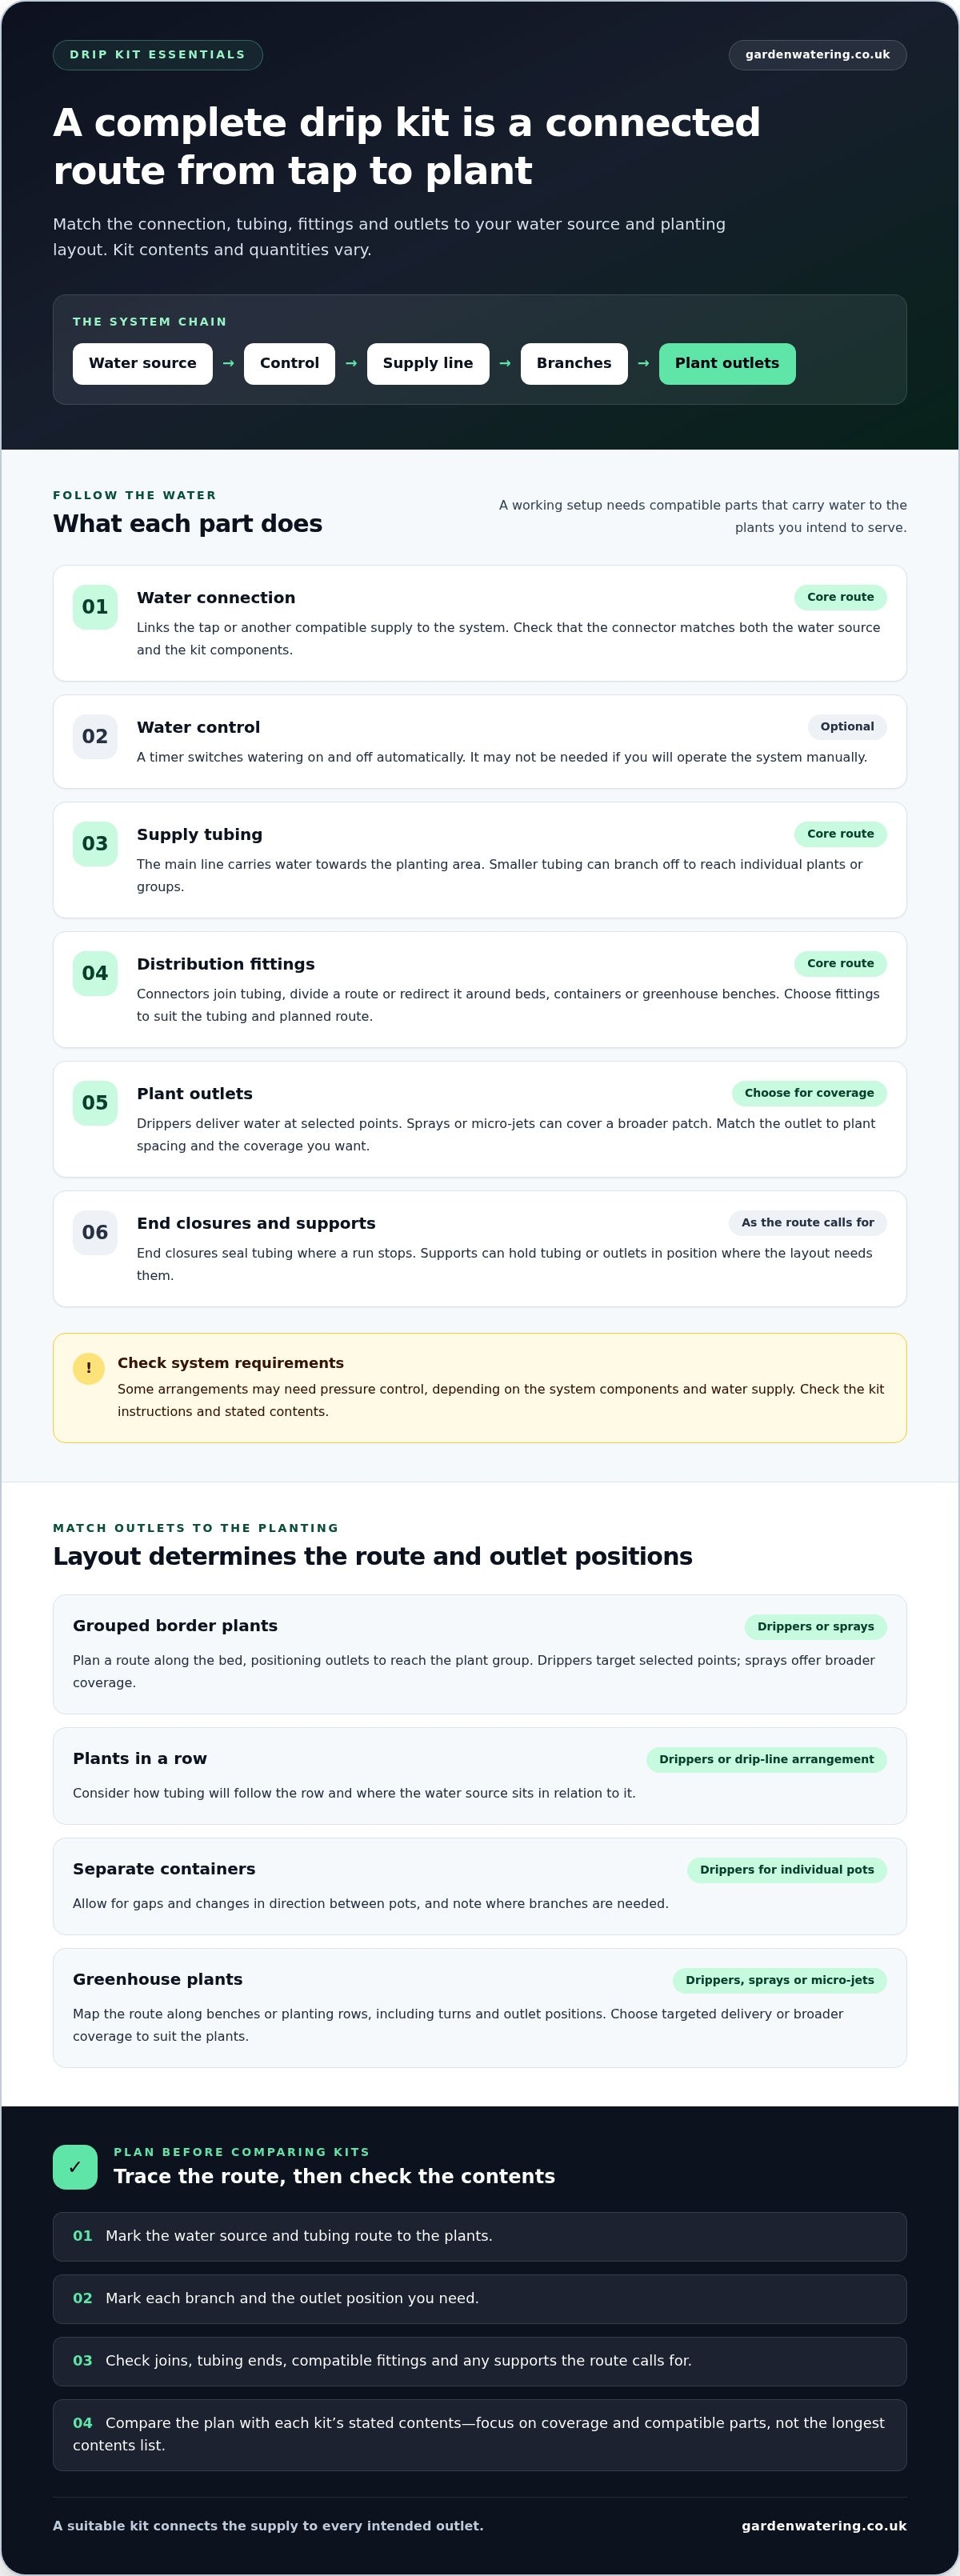
Think of the system as a chain: water source → control → supply line → branches → emitters. Each part has a job. If a link is missing or unsuitable, water may not reach the intended plants as planned. For an overview of drip irrigation and its main components, see Drip irrigation.
What does a drip kit need to do?
A drip setup carries water from a tap or another compatible supply through tubing to outlets near plants. Unlike a system that sprays a whole area, it delivers water at selected points. A row of plants may need tubing that follows the row, while separate pots may need outlets placed at individual containers.
To work out what do i need for a complete hozelock drip kit, consider where the water comes from, the distance and route to the plants, how many watering points you need, and which outlet suits them. These choices determine the components and quantities to look for.
Which parts are essential, and which depend on the garden?
A working system needs a suitable connection to the water source, tubing to carry water, outlets near the plants and compatible fittings to join or direct the route. Fittings may connect the supply line, create branches or close unused ends. Choose them to match the tubing and layout, rather than assuming parts that look similar are interchangeable.
A timer is useful if you want watering to run automatically, but it isn’t essential for a manually operated setup. Some arrangements may also need pressure control, depending on the system components and water supply. Check the instructions and stated contents for the kit you’re comparing instead of relying on a standard parts count.
Before choosing, sketch the route from source to plants. Mark each branch and outlet, then compare the plan with the kit contents. When browsing drip irrigation systems, focus on whether the parts form a suitable, compatible route for your garden, not simply on how many pieces are included.
Hozelock drip kit checklist: the parts from tap to plant
Follow the water’s route to identify the functions your setup needs. Components and quantities vary by kit and layout, so compare the stated contents rather than assuming every box contains the same parts.
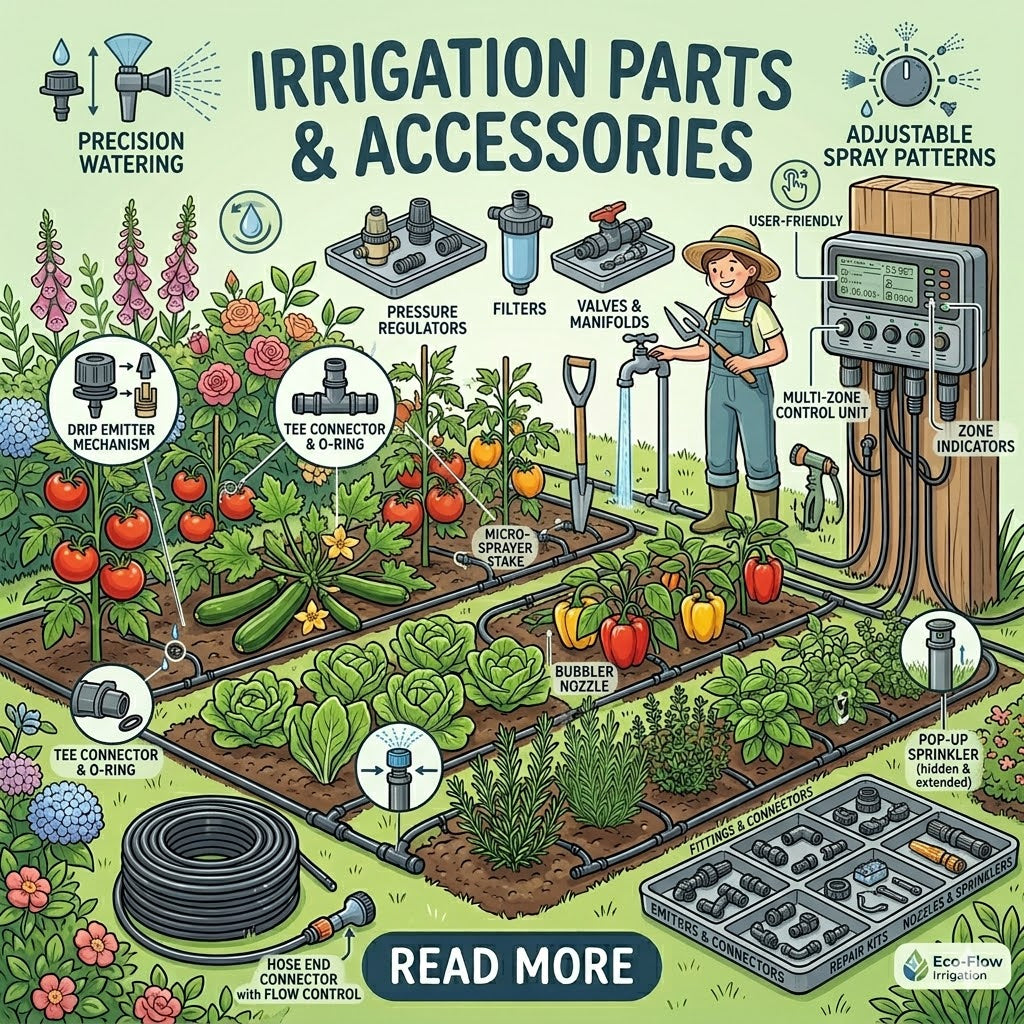
- Water connection: A suitable connector links the tap or another compatible supply to the system. It must match both the water source and the kit components.
- Water control: A timer switches watering on and off automatically. It’s optional for a manually operated setup.
- Supply tubing: The main line carries water from the connection towards the planting area. Smaller tubing can branch off to reach individual plants or groups.
- Distribution fittings: Connectors join tubing, divide a route or redirect it around beds, containers or greenhouse benches. Match fittings to the tubing and planned route.
- Plant outlets: Drippers deliver water at particular points, while sprays or micro-jets can cover a broader patch. Choose an outlet to suit the plant spacing and coverage you want.
- Finishing pieces and supports: End closures seal tubing where a run stops. Supports can help hold tubing or outlets in position where the layout calls for them.
Water connection, timer and supply tubing
Start at the water source. The connection links your tap or compatible supply to the watering line, so check that the fittings match the chosen system. Add a timer at the control point if you want scheduled watering. For manual operation, a timer may not be needed.
Next, map the tubing route. The main supply line runs towards the planting area, while branches carry water to the relevant plants. As you compare Hozelock watering kits, look at the stated contents and intended arrangement, not just the category name.
Branches, drippers, sprays and finishing fittings
Distribution fittings shape the route. A branch can direct tubing along a bed or towards a group of pots, while a redirecting connector can help the line follow a greenhouse bench. Drippers suit targeted delivery at selected plant locations. Sprays or micro-jets may suit areas where broader coverage is wanted. Plan the planting area and outlet positions before comparing components.
Check whether any open tubing ends need closing and whether the route needs supports to hold outlets in place. Trace the setup from the water connection to each plant outlet, making sure every join and end has a clear purpose.
Which Hozelock drip components suit your plants and layout?
The right outlet depends on how plants are arranged and where you want water delivered. A row of vegetables, a group of pots and a greenhouse bench may need different tubing routes or outlet positions. Use this comparison to plan your layout, then match it to the stated contents of the system you’re considering.
| Plant arrangement | Outlet to consider | Layout points |
|---|---|---|
| Grouped border plants | Drippers for targeted delivery, or sprays for broader coverage | Plan a route along the bed, with outlets positioned to reach the plant group. |
| Plants in a row | Drippers or a suitable drip-line arrangement | Consider how the tubing will follow the row and where the water source is in relation to it. |
| Separate containers | Drippers can direct water to individual pots | Allow for the gaps and changes in direction between pots, and note where branches are needed. |
| Greenhouse plants | Drippers for particular plants, or sprays or micro-jets for wider coverage | Map the route along benches or planting rows, including turns and outlet positions. |
Drippers or sprays: which outlet suits the planting?
Drippers are a focused option when you want an outlet near an individual plant or container. Sprays and micro-jets distribute water over a broader area and may suit a group that can be reached by one outlet. Neither option suits every garden. Consider plant spacing and desired coverage, and follow the system’s product guidance for its intended use.
How does the garden layout change the checklist?
Distance and route affect how much tubing you need. Turns and splits can require different connector arrangements. A straightforward row may need a simple route, while separate pots or several beds may need branches to direct tubing in different directions. Greenhouse benches may need outlets positioned along the planting line.
Before deciding what do i need for a complete hozelock drip kit, sketch your plant positions and the route from the water source. Mark where you want drippers, sprays or micro-jets, then note each branch and change of direction. This makes it easier to compare the parts included in different drip irrigation systems and choose a layout that suits your plants.
How to check a Hozelock drip kit before buying
A short checklist can help you spot missing parts and avoid choosing components your layout won’t use. Compare the product’s stated contents with your plan. A kit title alone won’t show whether its parts suit your plants and water source.
- Map the plants. Mark the pots, beds, rows or greenhouse plants you want to water. Note which plants are grouped and which may need separate outlets.
- Identify the water source. Note where the system will connect, such as an outdoor tap, and consider the connection required. For help understanding fitting types, browse irrigation fitting adaptors.
- Plan the tubing route. Sketch the path from the source to each planting area. Mark turns, branches and positions for drippers, sprays or other outlets. A longer or more divided route may call for a different tubing and connector arrangement than a direct run.
- Compare the stated contents. Check that the listed parts cover the connection, tubing, outlets and fittings your plan requires. If you want automatic watering, check whether a timer is included or selected separately.
Map the plants and water route first
A simple drawing is enough. Show the tap, each plant group and the route you expect the tubing to follow. Mark where a branch could serve separate containers or where a different outlet may suit a bed. This turns “what do i need for a complete hozelock drip kit” into a practical comparison: you can identify the parts your layout calls for before reviewing kit contents.
Compare kit contents without assuming every box is alike
Kit contents, quantities and stated coverage can vary. Use the product information for the specific kit you’re considering. Check compatibility too, especially where tubing, connectors, outlets or a timer need to work together. Don’t infer these details from a product name or assume two kits contain equivalent parts.
For broader context on choosing an automatic watering setup, read the Hozelock automatic watering guide. Then compare the stated contents of Hozelock watering kits with your sketch, so your choice reflects the layout rather than an unnecessarily long parts list.
Choose a complete Hozelock drip kit with confidence
A suitable kit connects to your water source and covers the plants you intend to water. A longer parts list isn’t automatically better. Check that the components match your garden’s layout, provide the outlets you need and work together as a system.
A quick final checklist before choosing
- Water source: Identify where the system will connect and check that the kit’s connection fittings suit it.
- Plant layout: Use your sketch to confirm the tubing route reaches each bed, row, container group or greenhouse area.
- Outlet type: Match drippers, sprays or micro-jets to the planting arrangement and the coverage you want.
- Fittings and contents: Check that the listed connectors and other parts suit the selected tubing and route.
- Product details: Use the listing for the specific kit to review included parts, quantities and stated coverage or compatibility.
The practical answer to what do i need for a complete hozelock drip kit is the set of compatible parts that serves your plants, not simply the greatest number of components. Compare product information with your garden plan rather than relying on a kit title or assuming every kit includes the same items.
Where to go next for kit and layout guidance
If you’re weighing drip irrigation against other ways to water the garden, the Hozelock automatic watering guide offers wider system context. Once you’ve mapped your layout, browse the Hozelock watering range to compare relevant options.
Garden Watering specialises in Hozelock products and garden irrigation, with advice informed by over 15 years of experience. Use your plant map and this checklist to narrow down a setup with suitable connections, routes and outlets.
Choose the right setup for your garden
A complete Hozelock drip kit has a suitable connection to your water source, tubing routes that reach the plants and outlets matched to their arrangement. Fittings matter too, so compare each kit’s stated contents with your garden plan instead of choosing by the size of its parts list.
To answer “what do i need for a complete hozelock drip kit”, start with your water source and plant layout, then choose drippers or broader-coverage outlets to suit each area. Check the product contents and compatibility before you choose. Planning first helps you avoid missing components and unnecessary extras.
Garden Watering offers Hozelock watering systems and irrigation products, with specialist advice informed by over 15 years of experience. Explore Hozelock watering kits and compare the options with your checklist.
Frequently Asked Questions
Is a Hozelock drip kit complete with everything I need?
Not necessarily. Contents vary between products and are designed for particular setups. Check the product description for the water connection, tubing, outlets and fittings, then compare these with your garden plan. If your route or planting arrangement differs from the kit’s intended coverage, you may need additional components. Don’t assume a timer or a particular number of outlets is included unless the listing says so.
What parts do I need for a drip irrigation kit?
A drip irrigation setup generally needs a suitable connection to the water source, tubing to carry water, fittings to direct the route and outlets such as drippers or sprays. A timer is useful for automated watering, but isn’t essential for every setup. To work out what do i need for a complete hozelock drip kit, map your plants and water route, then compare your needs with the specific kit’s listed contents.
Can I use a Hozelock drip kit with pots and garden borders?
Yes. A drip system can be arranged for pots and borders, but the tubing route and outlet choice depend on where the plants sit. Individual containers may need outlets placed near separate pots, while a border may need a route that follows the planting area. If your garden includes both, sketch each area and compare its requirements with the kit contents.
Do I need a water timer for a Hozelock drip kit?
No. A timer isn’t required for every drip setup. It’s useful if you want watering to run automatically on a schedule, but you can also operate a setup without automatic control. If you choose a timer, check how it connects and whether its fittings suit the rest of your system. Review the kit contents to see whether a timer is included or selected separately.
How do I know whether a drip kit has enough tubing and outlets?
Map the plants you want to water and sketch the route from the water source to each area. Mark where tubing branches and where each outlet needs to sit. Then compare your plan with the tubing and outlet quantities stated in the product information. Don’t infer coverage from a general kit name. If a quantity or coverage detail isn’t stated, don’t assume it will meet your needs.
Are Hozelock drip kits difficult to set up?
A simple layout is easier to follow when you plan the route before connecting the parts. Identify the water connection, run the tubing, mark any branches and position outlets according to the kit instructions. More involved layouts may need extra planning for turns, separate planting areas or different outlet types. Read and follow the instructions supplied with your chosen kit.
`-
Posted in
automatic watering, drip irrigation, garden watering checklist, garden watering systems, Hozelock, irrigation fittings, micro irrigation, what do i need for a complete hozelock drip kit